Introduction
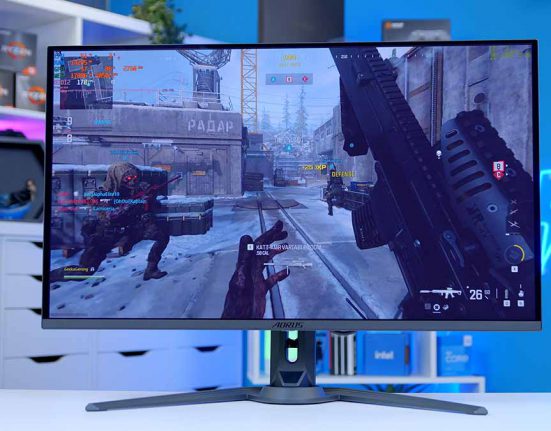
Over the past few months we’ve seen a significant amount of product launches from the biggest manufacturers. AMD, Intel and Nvidia have all thrown their hat into the ring with new components making now an excellent now time to put a powerful gaming PC together. Whether you’re building on a budget, or you’re hungrier for high performance components, you can start building a gaming PC right now.
In today’s article we’ll be showing you how to put together the best $1000 Gaming PC Build for 1080P gaming. We’ve spent plenty of time researching the best components money can buy, while still remaining price conscious so we can ensure we sit under the $1000 mark. Below you’ll find a detailed summary of each component that went into this build along with some peripheral recommendations, and of course – benchmarks!
Main Components
CPU: Intel Core i5 12400F
The best CPU for a budget gaming PC build like this one is Intel‘s Core i5 12400F CPU, a real focal point of this build. The Core i5 12400F launched in the first quarter of this year, giving consumers the opportunity to something more mid-range but without breaking the bank. The Core i5 models (primarily the 12600K and KF SKUs) are known for bringing incredible performance to the market while still keeping costs down based on the lower core/thread count, and lower clock speed.
The i5 12400F teeters in-between the budget and mid-range markets, sacrificing some of the performance found on the i5 12600K but at a lower price. With six cores and 12 threads, this chip is certainly no slouch, and a respectable boost speed of 4.4GHz ensures fast single-threaded performance, too. Although you won’t be able to deal with heavier workloads such as video editing or 3D rendering, this CPU is perfect for 1080p and even 1440p gaming, depending on the graphics card you choose.
Key Specs:
- Base Clock: 2.5GHz
- Boost Clock: 4.4GHz
- Base Power: 65W
- Max Power: 117W
- Socket: LGA1700
- Core Count: 6
- Thread Count: 12
Buy the Intel Core i5 12400F on:
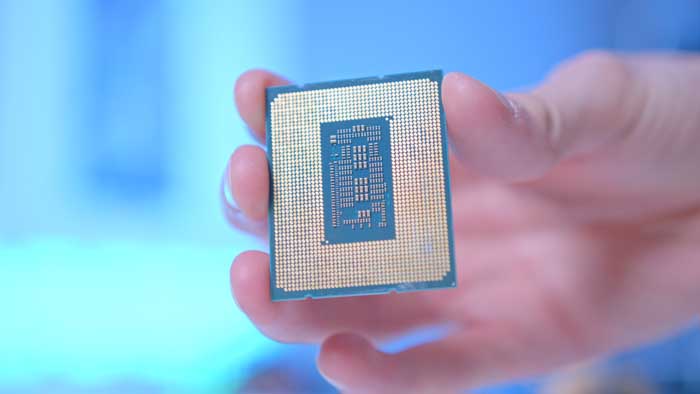
The reason we’ve chosen the 12400F over a 13th Gen CPU is because of the price. Although Intel’s new 13th-Gen CPUs have mostly remained the same in terms of price, and offer excellent performance, there are only currently three major SKUs that consumers have access to with the 13th-Gen launch. This means we don’t have the more budget oriented Core i3 and lower priced Core i5 CPUs as of yet that have been delivered from 12th-Gen.
However, we’re expecting these to be released at some point next year with incredible clock speeds and an enhanced core count compared to their 12th-Gen predecessor. For the time being, this makes the Core i5 12400F one of the best CPUs that you can pick up under $200 right now!
Pros
- Great value processor
- Strong boost clock speed
- High core count
Cons
- Not overclockable
- Lower clock speeds than 13th Gen
For more information on how to choose the best CPU for your gaming we recommend you check out our coverage on our website:
The Best CPUs for Gaming 2022:
How to Choose the Best CPU for Your Next Gaming PC Build:
CPU Cooler: Deepcool AK400
To keep our CPU nice and cool we’ve picked out Deepcool‘s AK400 tower air cooler. Typically, for a budget build we would’ve used one of Intel’s stock coolers, but the Core i5 12400F requires a little bit extra to keep the CPU cool. Liquid cooling isn’t a requirement for this build, and unfortunately it would put us over budget. Choosing the right cooler for your PC build is a vital part of bringing costs down, but also ensuring you don’t get more than what is needed. Online marketing would tell you that you should buy the most expensive 360mm CPU cooler, but for a budget PC this is an entirely redundant move.

We’ve also taken a look at the best coolers for Intel 13th-Gen CPUs which is worth reading if you’re looking for an upgrade!
The Deepcool AK400 has a wide range of compatibility with different sockets, including LGA1700. The install is extremely simple cutting down your build time significantly, while offering a high-performance fan and heatsink tower ensuring the heat from your build is dispersed efficiently and quickly.
If you’re struggling to install this cooler into your PC, the fan can be fully detached from the tower and then reattached once the tower is mounted properly to the motherboard. The fan header also uses a traditional 4-Pin PWM style making it fully compatible with the motherboard we’ve chosen and a variety of different fan/RGB hubs, making it easier to install more if you decide to upgrade in the long run.
Pros
- Great value for money
- Fantastic cooling capability
- Unique design
Cons
- No RGB
- Cheaper options available
Key Facts:
- Max RPM: 1850RPM
- Fan Airflow: 66.47CFM
- Fan Connector: 4-Pin PWM
- Heat Pipes: 4
- RGB: No
Buy the Deepcool AK400 CPU Cooler on:
Motherboard: Gigabyte B660 DS3H AX
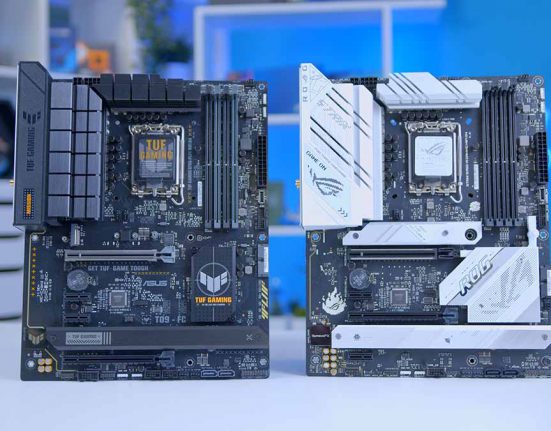
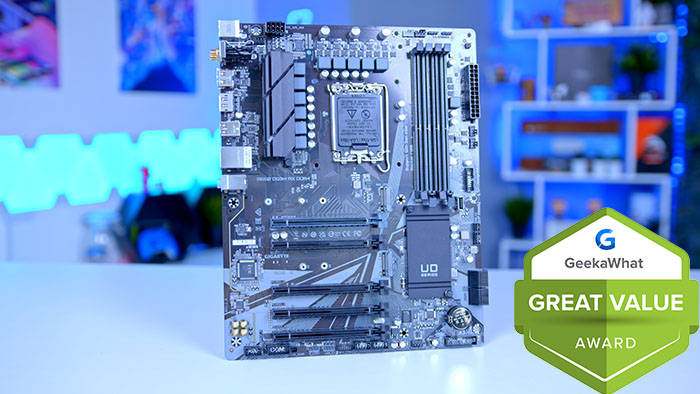
To connect all of our components together, we’ve picked up Gigabyte’s B660 DS3H AX. This motherboard is a favourite of ours at the GeekaWhat office, so much so that we’ve given it an award for great value. This motherboard is a more barebones design utilising the B660 chipset from Intel’s 12th-Gen range. B660 motherboards are designed to bring a cheaper alternative to the market by slimming down on certain features, but still providing access to the powerful range of Intel CPUs. We’ve taken a look at a large variety of B660 boards on our website, and the B660 DS3H AX from Gigabyte takes the cake when it comes to value for money.
Suggested Article: Z690 vs B660 Motherboards – What are the key differences?
In terms of features, you’ve got access to high speed memory overclocking with the four DDR4 DIMM slots. You can increase the clock speed to 5333MHz at maximum giving you a performance boost in a variety of games and applications. Looking at expansion, and the main PCI-E x16 slot is compatible out of the box with the Gen4 standard giving you a range of access for a new graphics cards upgrade. This means for those of you holding out for a 4060, or 4060Ti, this motherboard will support it! Storage expansion is also very promising with the B660 DS3H supporting two Gen4 M.2 SSD Slots giving you the option to install blazing fast drives.
This board doesn’t have an integrated IO shield, presumably to slim down costs, but you’ve got plenty of rear and front IO to plug in various accessories and peripherals. On the rear IO, this board sports a USB 3.2 Gen2x2 Type-C port rated up to 20GB/s. There’s also one USB 3.2 Gen2 Type-A port, along with two USB 3.2 Gen1 ports too. The biggest selling point of this motherboard is its WiFi capability. On the rear IO you’ll find two WiFi 6E antennae allowing you to reduce any cable clutter and experience high speed WiFi without connection drops and lag stutters.
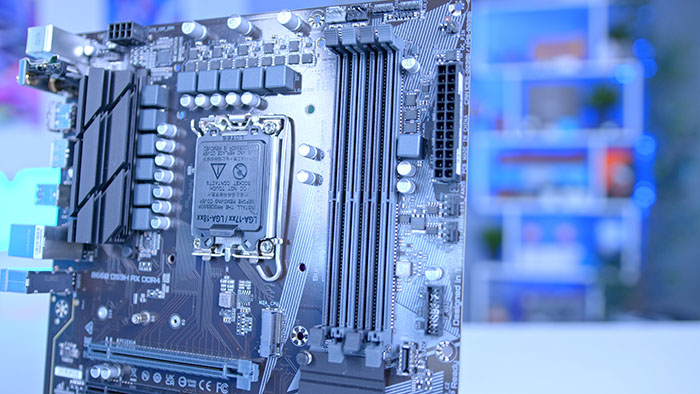
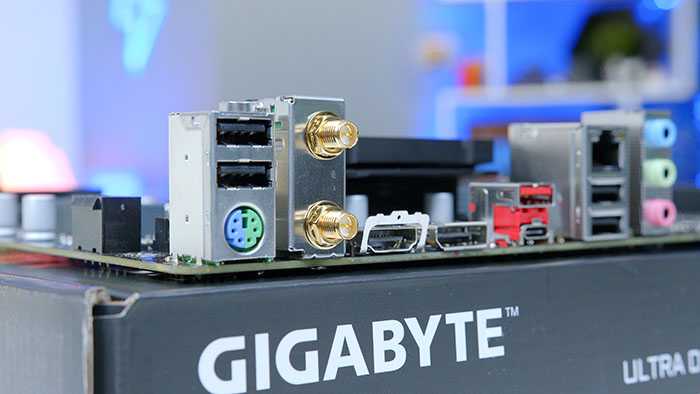
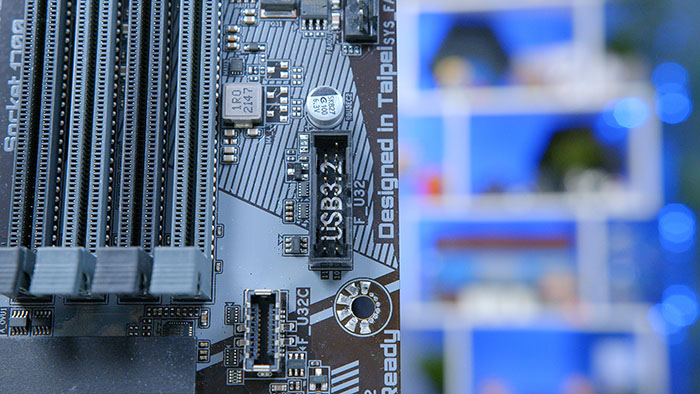
Picking out a motherboard like this B660 DS3H AX gives you access to a powerful platform without breaking the bank. One of the philosophies that we’ve tried to allude to in a number of other articles is building a much cheaper barebones system that you can upgrade over time. Although the motherboard we’ve chosen isn’t the most powerful, nor is it the best looking, it allows you to enjoy a great gaming PC for a low price and then if you’d like a new and more updated board 13th-Gen could always be an option in the future.
Key Specs:
- Form Factor: ATX
- Supported Memory: DDR4 128GB 5333MHz
- PCI-E x16 Slots: 1x PCI-E 4.0
- PCI-E x4 Slots: 2x PCI-E 4.0
- Rear IO: 1x USB 3.2 Gen2x2 Type-C, 1x USB 3.2 Gen2, 4x USB 2.0
- Networking: WiFI 6E, 1 Gigabit LAN
Buy the Gigabyte B660 DS3H AX on:
Check out the full review on this board on our website:
Suggested Article: PC Building Checklist – How to Build a Gaming PC in 2022
[adrotate banner=”7″]RAM: Corsair Vengeance RGB RS 16GB
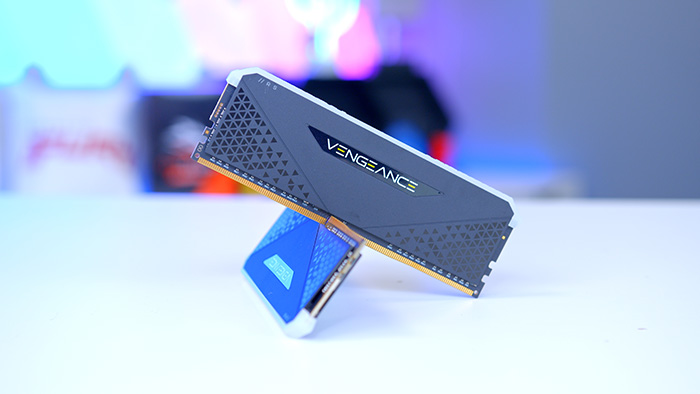
For our RAM we’ve picked out Corsair‘s Vengeance RGB RS 16GB kit. This particular kit comes with two 8GB DIMMs clocked at 3200MHz with a tested CAS latency of CL16. This RAM will be perfect for gaming and provide the much needed power and performance to supplement our CPU.
While bringing excellent performance, these DIMMs also feature Corsair’s renowned RGB LED technology which can be fully customised within their industry leading iCUE software.
Buy the Corsair Vengeance RGB RS 16GB Kit on:
Generation: DDR4
Capacity: 16GB (2x8GB)
CAS Latency: CL16-20-20-38
Clock Speed: 3200MHz
RGB: Yes
You’re probably wondering why we didn’t choose a DDR5 kit instead of DDR4? There are a number of reasons why DDR5 won’t fit in this build, but the main ones are price and performance. In terms of performance, DDR5 isn’t all that good at the moment, and although it will be in the future, the performance increase isn’t worth the upgrade cost. Which brings me onto pricing – DDR5 is very very expensive.
If you’re looking at CL40 kits and telling me you can pick them up for $80, yes you can, but you are going to hurt your performance significantly. Lower latency DDR5 kits are not cheap at all, and most users will be looking at spending over $200 for one of these kits. Unfortunately, this means that we won’t be able to fit this into our budget for today’s PC build. As we see DDR5 kits drop in price, there’s a possibility for a cheaper DDR5 build, but for the time being we’ll stick to DDR4!
Pros
- Great value DDR4 kit
- Variety of speeds available
- Top-tier aesthetic with strong RGB integration
Cons
- More expensive than other kits
- iCUE isn’t compatible with other RGB software
Wondering what the difference is between DDR4 and DDR5 memory? Why not check out out full memory comparison?
Not sure about this kit? Take a glance at our roundup of the best DDR4 memory kits on the market right now!
SSD: Western Digital Blue SN570
To give this build some space for our operating system and some games, we’ve picked out Western Digital‘s Blue SN570. This drive utilises the Gen3 interface, offering up extremely fast read and write speeds. On the sequential read the SN570 can provide up to 3500MB/s on the reads and 2300MB/s on the write. This is more than enough to give us optimal load times within games, and a blazing fast boot time too.
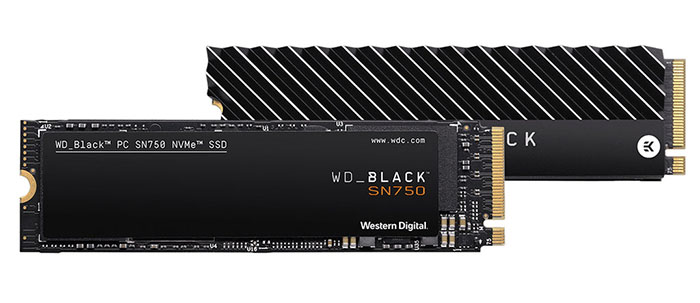
The reason we’ve picked out this Gen3 drive as opposed to a Gen4 option or SATA is a mixture of performance and pricing. Although a SATA drive would have been perfectly fine, they require extra cables and screws to install, and overall they just don’t look good in a build anymore. Gen4 drives on the other hand are just far too expensive for the budget of this build, and realistically they’re not needed. When Gen5 storage mediums enter the market we’ll look to put Gen4 drives in our builds once they’ve dropped in price, but the SN570 provides a great balance between performance and price.
| 250GB | 500GB | |
| NAND Type | TLC | TLC |
| Interface M.2 2280 | PCI-E Gen3 8GB/s, up to 4 Lanes | PCI-E Gen3 8GB/s, up to 4 Lanes |
| Sequential Read (MB/s) | 3300 | 3500 |
| Sequential Write (MB/s) | 1200 | 2300 |
| Endurance (TBW) | 150 | 300 |
| MTTF (hours) | 1.5M | 1.5M |
| Form Factor: | M.2 2280 | M.2 2280 |
We would also recommend potentially picking up more storage in the near future for this build. 500GB of storage is plenty to install your operating system along with some of the main games that you play, but won’t last forever. A big part of building a cheaper PC is upgrading over time. In relation to storage this can involve picking up a cheaper NVMe drive, and maybe a SATA SSD for your less-used games.
Buy the WD Blue SN570 on:
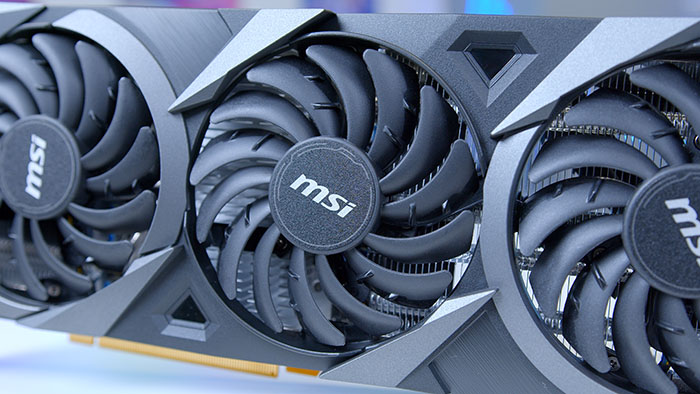
[adrotate banner=”7″]GPU: MSI Ventus 3X OC RTX 3060
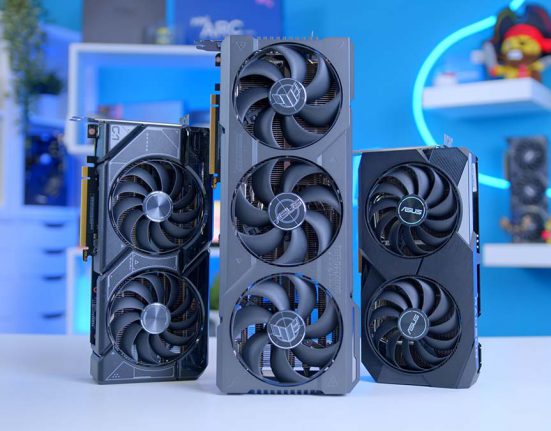
For the driving force of our graphics we’ve picked out MSI‘s Ventus 3X OC RTX 3060 card. The RTX 3060 from Nvidia is one of the best budget/mid-range cards you can buy and is perfectly positioned to play 1080P games, with capability to do 1440P with DLSS enabled. The RTX 3000 cards saw a huge generational increase with all of the new cards sporting more CUDA, Tensor and RT cores to handle all of the processing. This meant that all of the budget cards were wholly worth picking up making the all-powerful budget build a possibility.
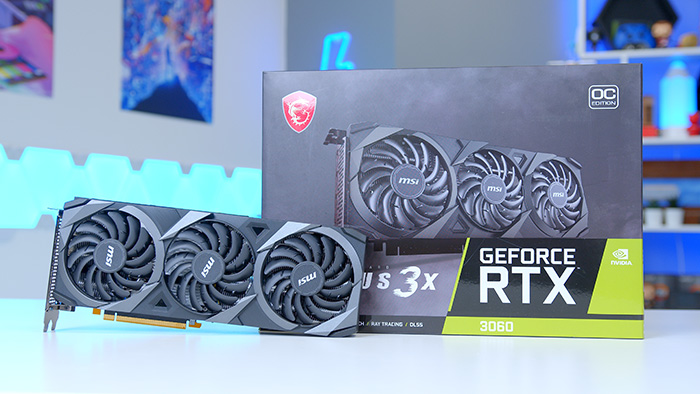
Key Facts:
- Capacity: 12GB GDDR6
- CUDA Cores: 3584
- RT Cores: 28
- Tensor Cores: 112
- Base Clock: 1.32GHz
- Boost Clock: 1.78
- GPU Power: 170W
- Required System Power: 550W
Buy the MSI Ventux 3X OC RTX 3060 on:
One of the biggest benefits to picking up an RTX 3000 card was the massive improvement to DLSS. DLSS 2.0 saw improvements to image quality providing better clarity to surfaces and lighting. And in performance mode frames can soar even higher giving you a significant boost at higher resolutions with much less performance overhead. With the launch of the RTX 3000 cards, the amount of supported games increased drastically making Nvidia the king of anti-aliasing and resolution scaling.
AMD vs Nvidia is a small argument that we can segue into, and for a budget build I’d currently side with Nvidia. AMD‘s cheaper graphics cards can be a bit hit and miss at times, and although the RX 6650XT is a good competitor to the 3060, AMD didn’t price the MSRP of this card very competitively. Making the RTX 3060 a better bang for buck GPU when it comes to performance versus pricing. We’re hoping that AMD’s RDNA 3.0 cards will be better than some of their previous renditions, but we’ll need to wait for these cards to release first!
Pros
- Great 1080p performance
- Ray tracing & DLSS support
- Low temperatures and a solid cooler design
Cons
- Cheaper RTX 3060 designs out there
- Strong competition from AMD’s RX 6650XT
- Pricing still quite volatile on the RTX 3060 lineup
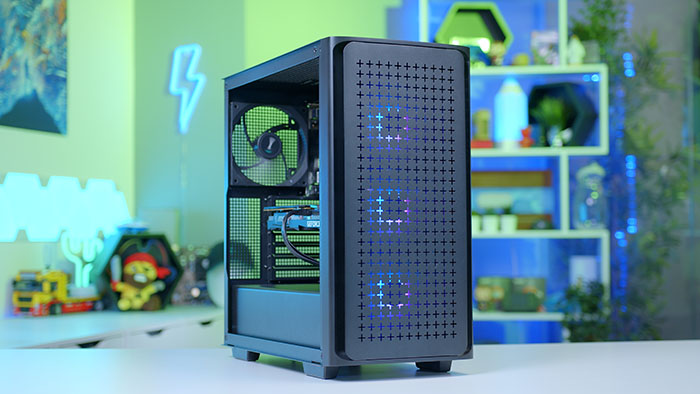
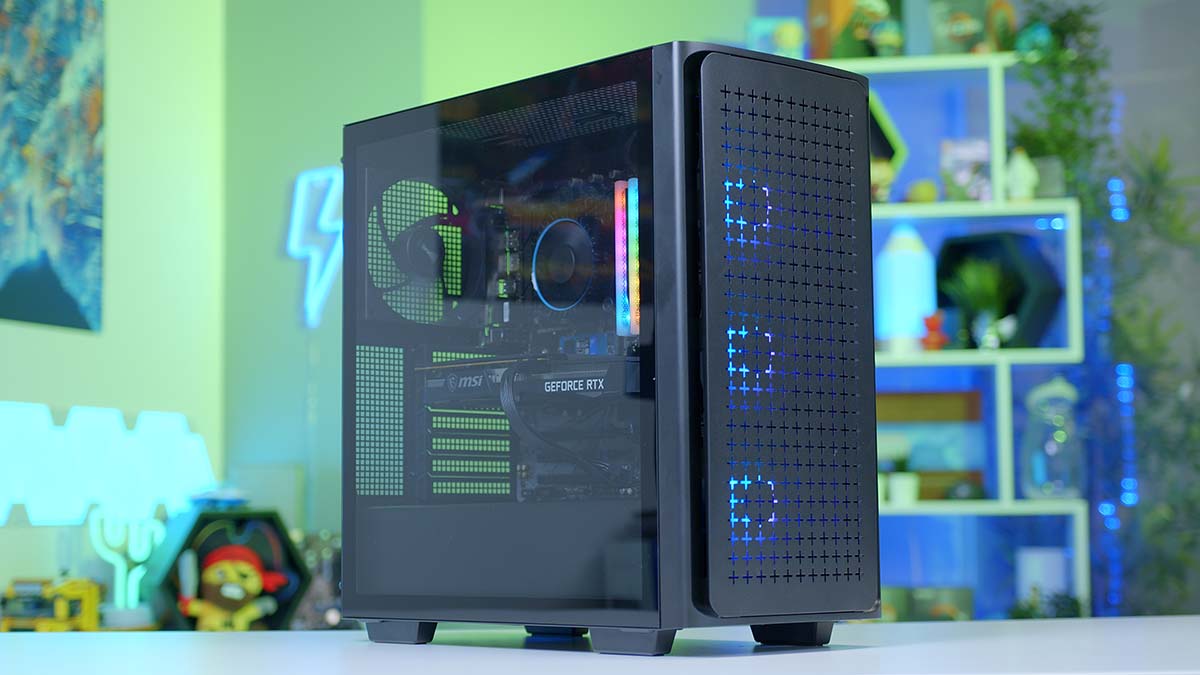
Case: Deepcool CK560
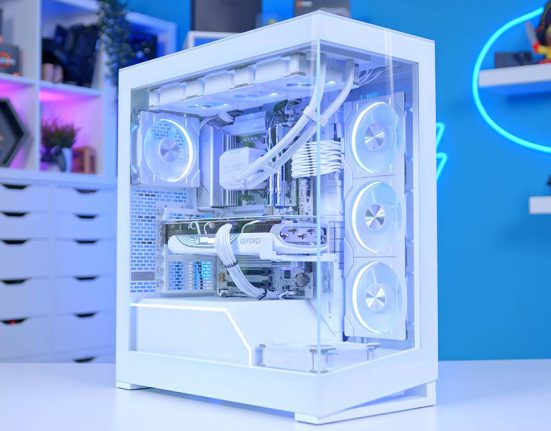
The CK560 from Deepcool is a Mid-Tower case designed to offer a streamlined PC building experience with support for a variety of different fan, cooler and motherboard configurations while offering plenty of airflow to keep your build nice and cool. The CK560 comes with three 120mm fans, and one 140mm fan pre-installed at the rear. The three front mounted options are ARGB and fully customisable, of which you can use the preset lighting effects, or sync the fans up with other RGB peripherals and acessories.
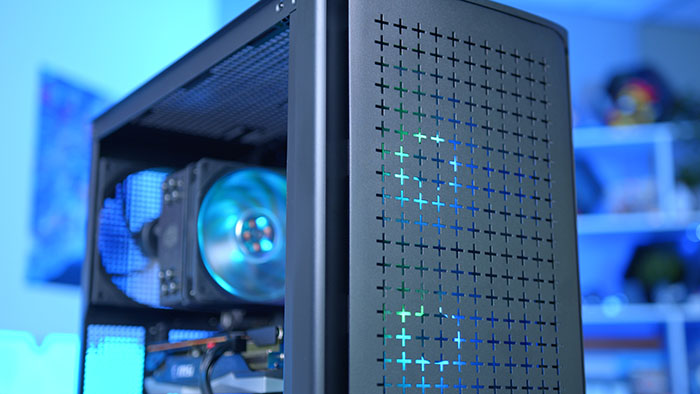
The reason we’ve picked out DeepCool’s CK560 over the competition is due to compatibility and pricing. We’ve discussed before in a previous article that buying a case because it is cheap or expensive isn’t a great way to measure its usage, but that you don’t need to spend a fortune to get something solid. Looking at your use-case is the best way to determine whether a particular case is right for you.
Based on our budget we’ve obviously had to pick a cheaper option, but the CK560 offers massive amounts of compatibility with radiators, fans and motherboards. If in the future you decide to pickup more fans for airflow, or perhaps upgrade your motherboard to a bigger size, the compatibility of this case supports that. The front panel is also mesh design unrestricting airflow in your case, and the included RGB fans gives you some extra flair. If you’re looking to build a PC for a similar price we’d definitely recommend Deepcool’s CK560 as a case option.
Key Facts:
- Form Factor: Mid-Tower
- Motherboard Support: Mini-ITX, Micro-ATX, ATX, E-ATX
- Pre-installed Fans: Front – 3x 120mm, Rear- 1x140mm
- Front IO Ports: USB 3.0×2, 3.5mm audio, USB 3.2 Type-C
- GPU Length Limit: 380mm
- CPU Cooler Height Limit: 175mm
- PSU Type: ATX (160mm max)
| Position | Fans | Radiators |
| Front | 3x120mm/2x140mm | 1x 360mm |
| Top | 2x120mm/2x140mm | 1x 280mm |
| Rear | 1x120mm/1x140mm | 1x 140mm |
PSU: Cooler Master MWE 650W 80+ Bronze
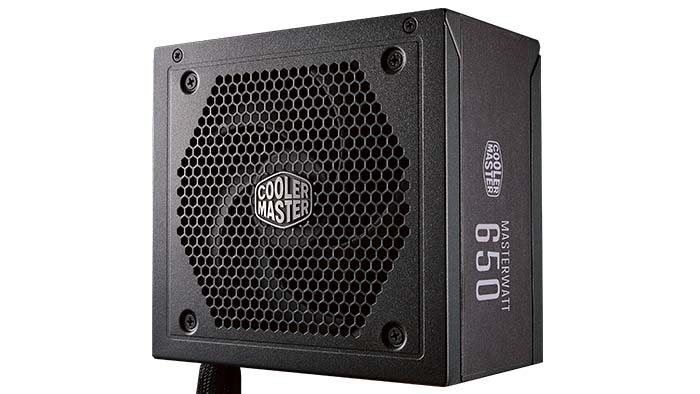
For the final part of out build we’ve picked up Cooler Master‘s MWE 650W 80+ Bronze power supply. This PSU sports a Semi-Modular design giving you the option to plug-in to the power supply only the cables you need. This still gives you the ability to carefully manage cables and select which ones you’d like for expansion cards and extra drives. The MWE 650W also has an 80+ Bronze efficiency rating reducing the amount of power lost as heat and noise.
Wattage: 650W
Efficiency Rating: 80+ Bronze
Modularity: Semi-Modular
RGB: No
MTBF: 100,000 Hours+
Moving onto efficiency ratings, and the 80+ Bronze certification given to this unit is more than enough for this build based on its lower power consumption. Ideally 80+ Gold would preferable, but the build we’ve put together will average around 50-70% utilisation when playing games, and much lower when idle. Lower efficiency rated power supplies perform better at less utilisation making it ideal for this build based on its lower power consumption.
| 80+ Rating | Efficiency Level |
| 80+ (White) | 20% Load: 80% 50% Load: 80% 100% Load: 80% |
| 80+ Bronze | 20% Load: 82% 50% Load: 85% 100% Load: 82% |
| 80+ Silver | 20% Load: 85% 50% Load: 88% 100% Load: 85% |
| 80+ Gold | 20% Load: 87% 50% Load: 90% 100% Load: 87% |
Buy the Cooler Master MWE 650W 80+ Bronze on:
Peripheral Recommendations
After finishing your build you’ll want to pick out some peripherals along with a monitor to finalise your setup. You’ll need a mouse and keyboard to navigate the BIOS to install Windows. And then a good headset and a monitor will provide a competitive advantage within your games. However, there’s a fine balance when picking out peripherals to ensure you get the best value for money.
On a more budget oriented build we’d recommend finding a peripheral bundle of sorts. Many manufacturers such as Razer, Cooler Master, and Logitech provide peripheral bundles that come with a keyboard and a mouse, and sometimes a headset. These bundles are great to save you some money, but also give you an awesome set of peripherals that are affordable and come with plenty of features.
Choosing a monitor can be a somewhat difficult at times, but the PC we’ve put together is perfect for 1080P gaming, so it nails down our options. Ideally we’d pick out the best option that we possibly can if we had an unlimited budget, but unfortunately we’ll need to make some sacrifices to find a cheaper monitor.
I think a monitor with a 144Hz refresh rate should be a requirement here, to ensure you get a buttery smooth 1080P gaming experience. In terms of the panel type, you’ll probably be limited to TN or VA, but at 1080P, the difference is negligible. For more detail on peripherals and monitors we’d recommend checking out our various buyers guides which contain a range of options while reminding you of the features you should be looking out for!
[adrotate banner=”7″]Recommended Monitor: AOC Gaming G2490VXA
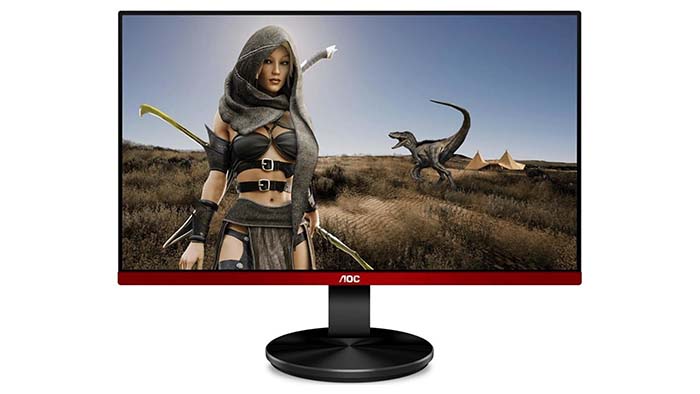
The G2490VXA from AOC is a 24 inch gaming monitor sporting a 144Hz refresh rate, 1ms response time, with FreeSync Premium technology. This monitor is very reasonable priced bringing plenty of value in features and in quality. The contrast-rich VA panel brings high fidelity picture quality combined with the 1ms response time and FreeSync to bring a smooth, and unhindered stutter free experience.
Buy the AOC Gaming G2490VXA on:
Recommended Mouse & Keyboard Bundle: Cooler Master MS110 Combo
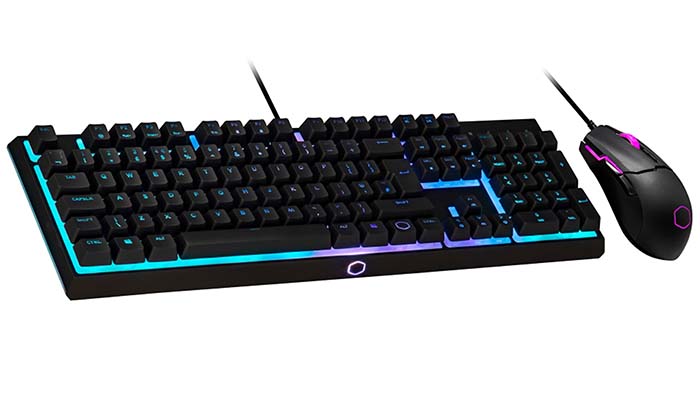
We’ve recommended the MS110 mouse and keyboard combo before, because it is great value for money. You’ve got access to a mem-chanical linear keyboard with much greater responsiveness compared to a standard membrane keyboard. The MS110 keyboard also has 3-zone RGB backlighting which can be fully customised within the MasterPlus+ software.
The MS110 mouse has a gaming-grade optical sensor which has an adjustable DPI of up to 3200, giving you the ability to enhance your accuracy. The robust and comfortable design of the MS110 mouse makes it a comfortable and long-lasting choice during your gaming sessions.
Buy the Cooler Master MS110 Combo on:
Recommended Headset: Logitech G332
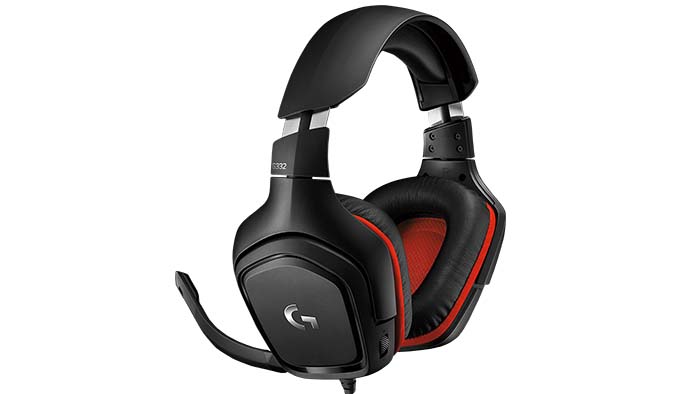
For our final peripheral choice, we’ve picked out Logitech‘s G332 headset. This headset has precise 50mm drivers producing expansive and crystal clear audio. The flip-to-mute boom microphone removes any annoying buzzing whilst providing great voice quality. The plush and lightweight leatherette ear cups are designed to keep pressure off your ears and removing the annoyance of uncomfortable headsets.
Buy the Logitech G332 Headset on:
Benchmarks
Now for the most important part of this article – the benchmarks. All of the components that we have access to are put through rigorous testing to ensure that they perform as advertised. All of the components that feature in today’s build have been used before in a variety of other PC builds, so we have a comprehensive set of benchmarks to show off how it performs. You can find all full gaming runs on our YouTube channel ‘Benched’ where you’ll find a range of runs in the latest triple A titles and Esports games.
[adrotate banner=”7″]Gallery
