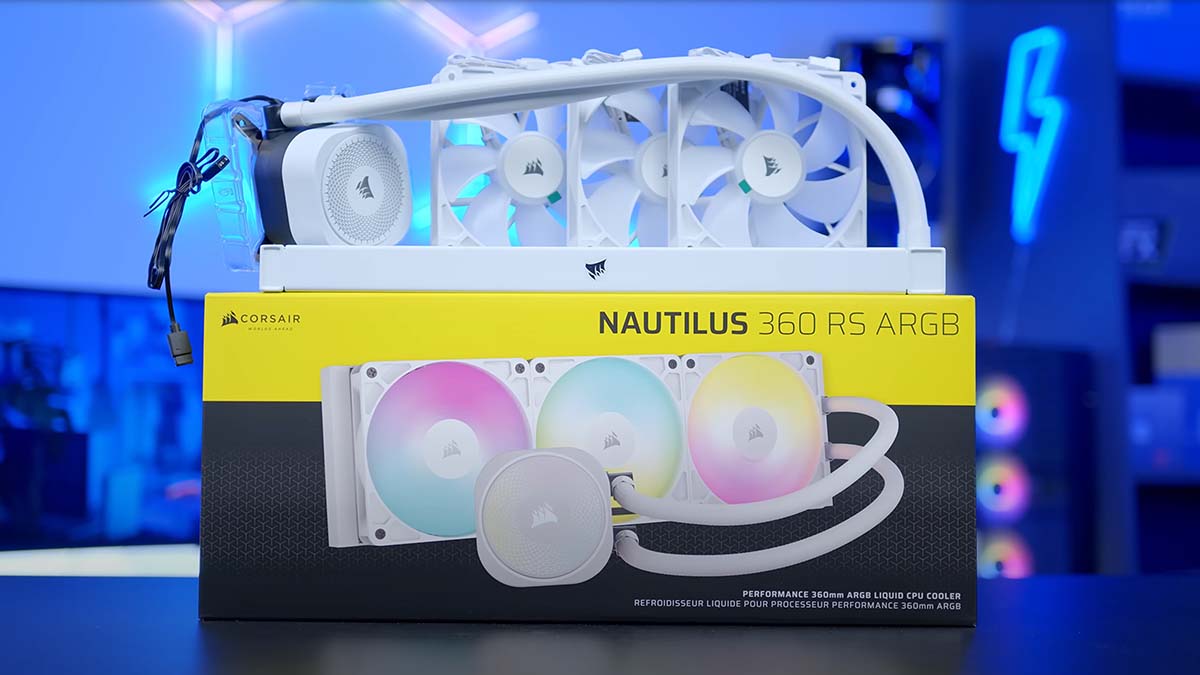
The Nautilus 360 RS ARGB is one of Corsair’s latest iterations in 2025 of a budget liquid CPU cooler. The Nautilus is a 360mm option designed to offer a hassle-free approach to assembly while providing plenty of RGB lighting flair that Corsair is generally associated with. This liquid AIO (all-in-one) offers universal cabling standards and daisy-chained connections, making wiring a pain-free experience.
However, with such a wide range of budget liquid coolers already available on the market, the Corsair Nautilus is up against tough competition. With options like the Montech HyperFlow ARGB 360, be quiet! Pure Loop 2 and ASUS Prime LC 360 ARGB LCD, the Nautilus needs to offer some pretty standout features and excellent thermals to beat out some of these budget titans. However, we’ll save the speculation until we see some benchmarks.
This CPU cooler review examines the Corsair Nautilus 360 RS ARGB, analysing its specs, design, installation, assembly process, and thermal performance. Keep reading to see how this AIO fares against the mass of other liquid CPU coolers we’ve tested.
Buy the Corsair Nautilus 360 RS ARGB on:
Specification
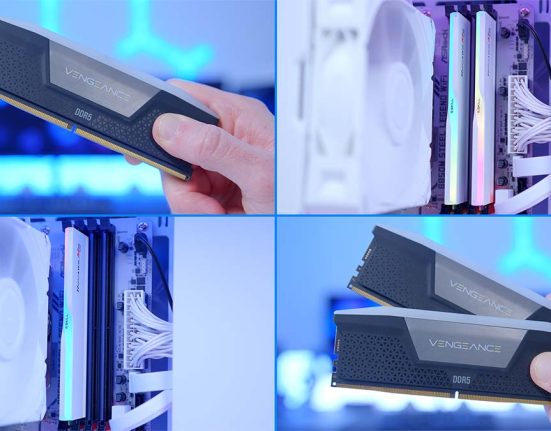
The Corsair Nautilus 360 RS ARGB is a 360mm closed-loop (AIO) cooler with three 120mm RS ARGB fans. Corsair offers a range of fans, but the RS120 fans are designed to be cheaper than the iCUE LINK models and don’t require a proprietary hub or set of cables, making them plug-and-play, which is great to see. Despite being cheaper, Corsair has still used magnetic dome bearings for these fans, which means they’re incredibly quiet and don’t tend to buzz either.
Unfortunately, these don’t come pre-installed on the radiator, but they daisy-chain together using 4-pin PWM headers, which saves some space on your motherboard. These fans have a max speed of 1700RPM, so they can shift a significant amount of air. There’s not much to talk about regarding the radiator. Corsair has opted for a standard size instead of a chunkier unit, so clearance won’t be an issue in most modern cases.

Corsair notes that the pump used for this AIO is optimised for low noise and has a high flow rate that peaks at 20 dB, which is incredibly quiet. Unfortunately, we don’t have any information about the pump RPM as Corsair doesn’t provide this in their specs. The CPU blockhead for the cooler is slightly convex to provide better contact with the CPU IHS (integrated heat spreader). This is a somewhat unique feature, so it’ll be interesting to see if it affects thermals compared to coolers that don’t use a convex design.
In terms of socket support, the Nautilus 360 RS ARGB can be used across LGA 1851 and LGA 1700 for Intel builders or AM5 and AM4 if you’re going with AMD. It’s worth highlighting that this AIO doesn’t use a universal mounting system, so you will have to swap out the brackets and backplate depending on the CPU you’ve gone for.
| Key Specs | Corsair Nautilus 360 RS ARGB |
|---|---|
| Radiator Size | 360mm |
| Radiator Dimensions (L x W x H) | 396mm x 125mm x 27mm |
| Number of Fans | 3 |
| Bearing Type | Magnetic Dome Bearing |
| Pump Connector | PWM |
| Max Fan Speed | 1700RPM |
| Socket Compatibility | Intel – LGA 1851, 1700 AMD – AM5, AM4 |
Last but not least is pricing. The Nautilus 360 RS ARGB has an MSRP of $129.99 in the US and £119.99 in the UK. Keep in mind that this is for the ARGB version. Those who aren’t bothered about lighting can save $20/£20 for the non-ARGB variant. I think the price of this cooler could be cheaper. If we compare to the likes of the Montech HyperFlow ARGB 360 or even the ARCTIC Freezer III, both of these coolers offer top-end performance at very competitive prices, so unless the Nautilus can beat them when it comes to temperatures, it’s going to be a hard sell for some extra RGB lighting and customisation.
Corsair Nautilus 360 RS ARGB Design
At a glance, the Nautilus is a reasonably simple-looking liquid cooler. It can be purchased in black or white, providing options for those with a lighter-themed build. The white version we’re looking at today offers consistent light colouring across the radiator, fans, tubing, and blockhead. There’s not much in terms of fancy logos or design qualities, which is to be expected as this is more of a budget cooler.
One area, in particular, worth highlighting is the top plate that sits on top of the CPU blockhead. When the cooler is powered, this plate almost acts as a diffuser for the light, providing a pattern for the light to shine through. I like Corsair’s design, but it is held on by a weak magnet in the centre. It would have been better to provide multiple magnets around the edge of the plate to ensure it stays still, but the plate flops around if it isn’t lined up properly, which makes building with it quite annoying.

The RS120 fans that come with the cooler aren’t the nicest-looking fans we’ve seen from Corsair. They’re very plasticky, and the odd-looking divets in the corners do look quite strange. I’d have preferred if the fans were flat, making them look slightly more premium. This won’t be a deal-breaker for everyone, especially as the fans won’t be as visible once the radiator is installed.
The daisy-chain connectors on the RS120 fans snap together incredibly easily, and because they’re short, they don’t pose too much of a problem in terms of cable mess. However, it would be nice to see the wires integrated into the side of the fan in some way, similar to what we’ve seen on the Phanteks Glacier One M25G2, where the cables are essentially hidden in the fan. However, some innovative cable management will allow you to hide the daisy-chain connections easily so they’re out of the way.

Once the cooler is powered, the fans and pump blockhead light up with RGB. If you’ve managed to get the magnetic plate on the blockhead to sit correctly, the RGB light shining through it looks great. The one downside to Corsair using addressable RGB instead of a proprietary standard is that the lights don’t get picked up in iCUE. This means you’ll have to use an alternative program like SignalRGB or control it through Windows Dynamic Lighting, which, despite being basic, alleviates the hassle of having to configure anything.
Overall, I think the design is basic, but it looks good. Once you’ve installed the cooler and tidied up the wiring, the RGB lighting looks great. Corsair has a particular talent for RGB lighting, so you won’t be disappointed from an aesthetic point of view.
Installation Process
This liquid cooler is pretty simple in its overall design, so you won’t be surprised that the installation process is also relatively straightforward. Corsair’s non-iCUE LINK coolers don’t make you suffer through proprietary cabling. So, it’s pretty much just a case of mounting the cooler appropriately and then plugging the headers directly into your motherboard or a hub.
First off, after taking the radiator and fans out of the box, you’ll need to locate the long fan screws. Unfortunately, Corsair hasn’t saved you some time by pre-installing the fans, so that’s the first step. I recommend connecting all of the daisy-chain connectors up, then placing the fans on the radiator with the cables pointing out towards you and the tubing sitting on your right, and then screwing everything down. This way, the wires won’t be visible once we flip the radiator back up.

After this, we recommend installing the mounting hardware onto the motherboard. You can do this while the motherboard is outside of the case, but it won’t cause any harm if you do it while it’s inside, either. All we need to do is remove the four screws around the CPU socket and both of the plastic AMD brackets. Then, locate the AMD screw posts. These have a plastic grey bottom and can be screwed in with thumb strength.

Next, find an appropriate panel to mount the cooler. During our build with the Nautilus RS 360 ARGB, we decided to top mount the AIO, where most builders will install a liquid cooler. To do this, first, locate the radiator screws. Flip the radiator over so that the wires aren’t visible, and with one hand, push the radiator up towards the top panel. With your free hand, attach one of the radiator screws to your Philips screwdriver and screw it into one of the corners of the radiator. Do this three more times for each of the corners, ensuring they’re nice and tight, and this should be enough to hold the weight of the radiator while you screw in the rest.
There will be twelve screws in total. Make sure all of them are in. Don’t over-torque the screws or use different ones, as this could potentially cause damage or pierce the radiator.

Now, we’ll attach the AMD mounting bracket to the CPU blockhead. Corsair makes this incredibly simple. Slide out the Intel bracket by giving it a firm pull, and then replace it with the AMD bracket found amongst the cooler hardware.

The last thing to do is mount the CPU blockhead on top of the CPU’s IHS (internal heatspreader). To do this, line up the mounting bracket with the posts on the motherboard. Push down on the blockhead slightly and use the thumbscrews found in the box to secure the blockhead in place. We recommend tightening the thumbscrews the rest of the way in a star pattern. Start in one corner, go to the diagonal, then move up or down and go diagonally again. This applies even tension across the CPU so as to avoid any potential damage.

Once you’ve done this, you can plug everything in. Corsair recommends plugging the pump into ‘CPU_Fan’; the rest of the fans can go into ‘CPU_Opt’.
Corsair Nautilus 360 RS ARGB Performance
The proper way to determine if a CPU cooler is worth the money is with a performance test. All of the CPU coolers we have access to undergo rigorous testing to ensure they can handle prolonged usage with CPUs that really push them. Our benchmarking rig is equipped with an Intel Core i7-14700K, which pushes each cooler to its limits.
Cinebench 4-Thread
In our first benchmarking run, we fired up Cinebench and set the number of threads to four, which is more typical of a gaming workload, as most games only tend to use 2-4 cores at the maximum. Our data shows that the Corsair Nautilus 360 RS ARGB hovered around 60°C on average, with a maximum of 68°C. This places it below the DeepCool Mystique 360 and MSI MAG CoreLiquid A15 360, both similarly performing liquid coolers.

A 60°C average is pretty decent overall. It outperformed the iCUE LINK TITAN, which is impressive, considering this is being targeted as more of a budget CPU cooler. Yet again, the Montech HyperFlow and, more recently, the PRIME LC 360 ARGB LCD retain their spots as two of the strongest budget AIOs on the market.
Cinebench 8-Thread
When the number of threads used was dialled up to eight, the Corsair Nautilus 360 RS ARGB held firmly at 70°C on average, with a 76°C maximum. This is a 10°C jump from the four-thread benchmark, which is solid. The MAG CoreLiquid A15 and Pure Loop 2 360mm beat out the Nautilus in this benchmark, but the results are much more tightly knit overall, placing the Nautilus quite close to the HyperFlow ARGB 360.

CPU-Z 8-Thread
Our last benchmark is CPU-Z at eight threads, in which the results compared to our eight-thread Cinebench run are fairly similar. The Nautilus 360 RS ARGB offered an average thermal output of 70°C, maxing out at 76°C. Overall, I think the results here are fine. While the Nautilus 360 RS ARGB isn’t blowing any of the other coolers out of the water, it’s consistent with maintaining reasonable temperatures.

Features We Like
Uses Addressable 3-Pin RGB
Over the years, several manufacturers that have dipped their toes into the CPU cooler space have offered various options using proprietary connectors. While these can be handy in some instances, they often complicate installation, especially if you lose a cable with one of these proprietary headers. However, the Corsair Nautilus doesn’t suffer from this issue because it uses standard 3-pin ARGB. This means you can easily plug this AIO into your motherboard or RGB connectors on other components to sync the lighting.

Daisy-Chained Fans
Daisy-chainable fans are a feature that we love to see. More manufacturers use daisy-chaining to free up motherboard headers and streamline cable management. All the fans on the Nautilius 360 RS are connected through daisy-chaining, making it much easier to hide away the wires and get everything plugged in with minimal hassle.

Features We Don’t Like
Flimsy Magnetic Faceplate
As we touched on during the installation section, the Nautilus cooler’s magnetic faceplate is very loose. It’s held in place by a fairly weak magnet, which makes it flimsy and easy to remove. However, I think it looks fairly cheap, and it makes installing this AIO (all-in-one) a bit of a pain, as the faceplate is prone to falling off. I feel that the magnet for this plate needs to be stronger to hold it in place, or it needs to be removed altogether.

Fans Aren’t Pre-Installed
My only other qualm with this cooler in terms of its features and design is that the fans don’t come pre-installed. We’ve seen pre-installed fans on a number of liquid CPU coolers, like the HyperFlow 360 ARGB, ASUS PRIME LC ARGB 360, and more. These coolers all have one thing in common: they’re easier to install. Liquid coolers with the fans all ready to go make it easier for the prospective buyer to get their build assembled and ready for some gaming.

Conclusion
Corsair Nautilus 360 RS ARGB
Product Name: Nautilus 360 RS ARGB
Brand: Corsair
-
Features
-
Design
-
Performance
-
Value For Money
Summary
The Corsair Nautilus 360 RS ARGB is a decent cooler. Because it is targeted as more of a budget option, it isn’t jam-packed with a massive array of fanciful features, but it offers a simple installation process, daisy-chained fans, and plenty of RGB lighting to spice up the look of your build. While this does mean the Nautilus is a bit simpler compared to other liquid coolers, this is often what we prefer to see on cheaper options.
However, this isn’t exactly what I’d call ‘budget’. At $129.99, this isn’t the most expensive cooler on the market, but it definitely isn’t the most competitively priced option either. I will always use the HyperFlow 360 ARGB and ARCTIC Freezer III as reference points because they’re similar to the Nautilus regarding features, but come in at a much better price point. If, for some reason, you’re dead set on picking up Corsair components, the Nautilus is a decent AIO. But there are better coolers out there that will provide lower thermals and save you a bit more cash compared to the Nautilus.
Pros
✅ Daisy-chained fans
✅ Doesn’t use proprietary cabling
✅ Simple to install
Cons
❌ Flimsy magnetic faceplate
❌ Fans aren’t pre-installed
❌ Pricey for a budget cooler
![FI_[SR190] HYTE X50 Ryzen 5 9600X & MSI RTX 5070 Ti](https://geekawhat.com/wp-content/uploads/2026/01/FI_SR190-HYTE-X50-Ryzen-5-9600X-MSI-RTX-5070-Ti-551x431.jpg)
![FI_[DP064] ASUS Prime AP303 + 9070XT](https://geekawhat.com/wp-content/uploads/2026/03/FI_DP064-ASUS-Prime-AP303-9070XT-551x431.jpg)
![FI_[DM93] Corsair 3200D Launch](https://geekawhat.com/wp-content/uploads/2026/03/FI_DM93-Corsair-3200D-LAUNCH-551x431.jpg)