A CPU cooler is one of the principal components of any PC build. This part ensures that your CPU will stay cool under load, while contributing to the airflow and pressure of your entire system. Because your CPU cooler is so important, picking up the right option is a vital decision to make. Those looking to pick up a solid air cooler are faced with a myriad of options on the market from a range of manufacturers.
In recent years, the main brands to lead this charge are Deepcool and Noctua. While neither of these manufacturers are associated with one another, they’ve covered all areas of the market, from budget options, all the way up to high-end enthusiast designs.
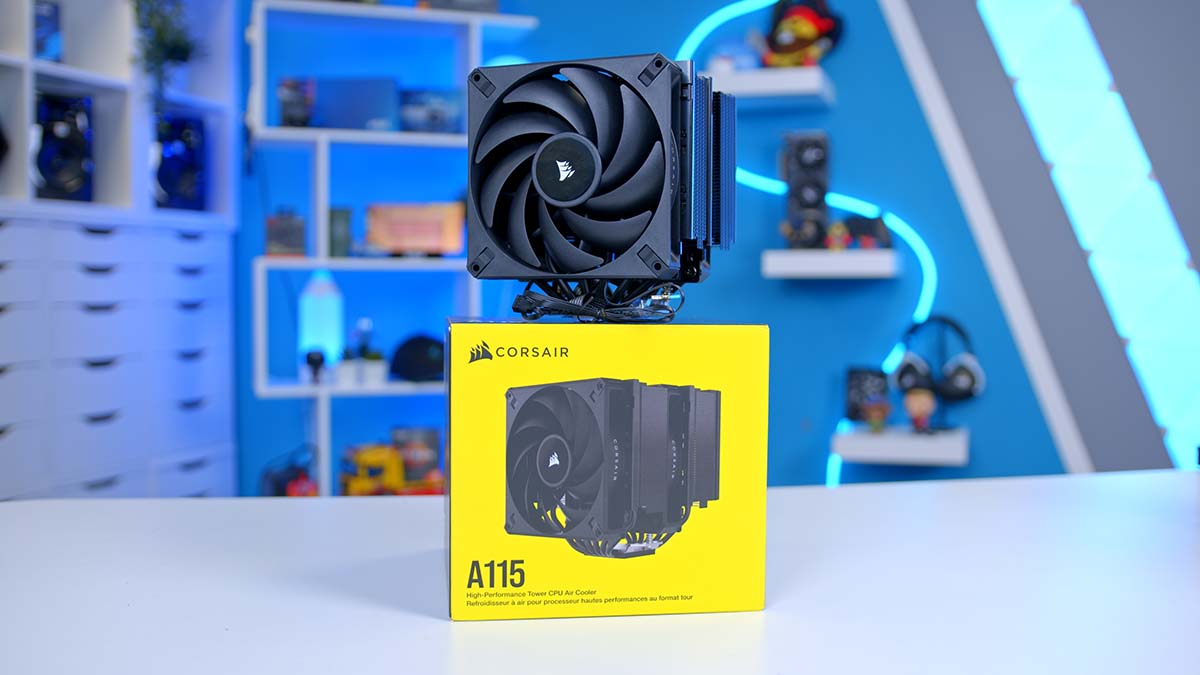
However, Corsair (another titan of the industry) looks to shake up the market with their Corsair A115 dual-tower air cooler. Yes, you heard me right, an air cooler! Corsair are dabbling in the CPU air cooler space, providing an enthusiast option for those looking to build a high-end system. In this review we’ll be delving into the key specs and performance that the Corsair A115, along with a comparison against other similarly priced options on the market.
Buy the Corsair A115 on:
Corsair A115 Specifications
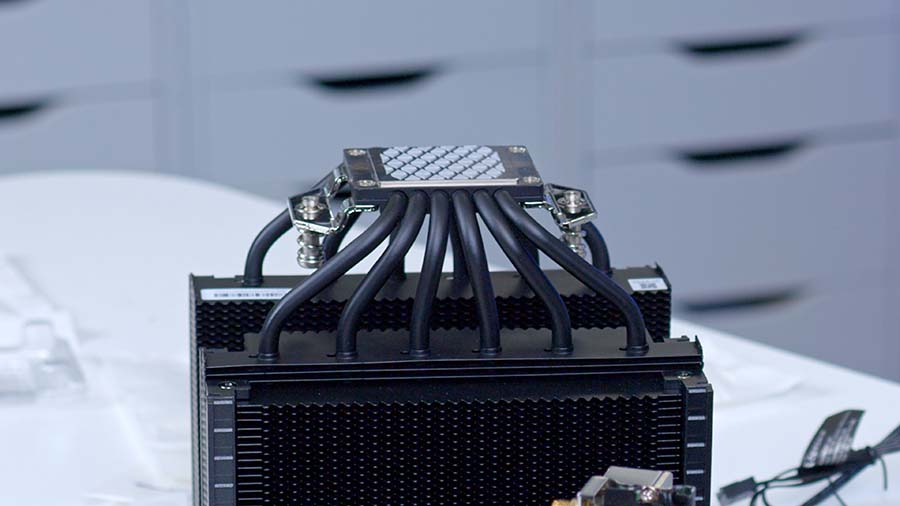
At a glance the Corsair A115 sports a decent set of specs. With two 140mm fans, rated at a max speed of 1600RPM, a dual tower design, and 6 high capacity heat pipes, this cooler looks to be very capable. The A115 also supports both LGA 1700 and AM5 mounting, which is perfect for modern systems.
| Specification | Corsair A115 |
|---|---|
| Product Dimensions | 153x155x164.8mm |
| Weight | 1.59kg |
| Max Fan Speed | 1600RPM |
| Max Fan Noise | 33.9dB |
| Number of Fans | 2x 140mm |
| Number of Heatpipes | 6 |
| Bearing Type | Fluid Dynamic Bearing |
| Fan Connector | 4-pin PWM |
| Socket Compatibility | AMD: AM5, AM4 Intel: LGA 1700, 1200, 115x |
| Warranty | 5 Years |
Design & Aesthetic
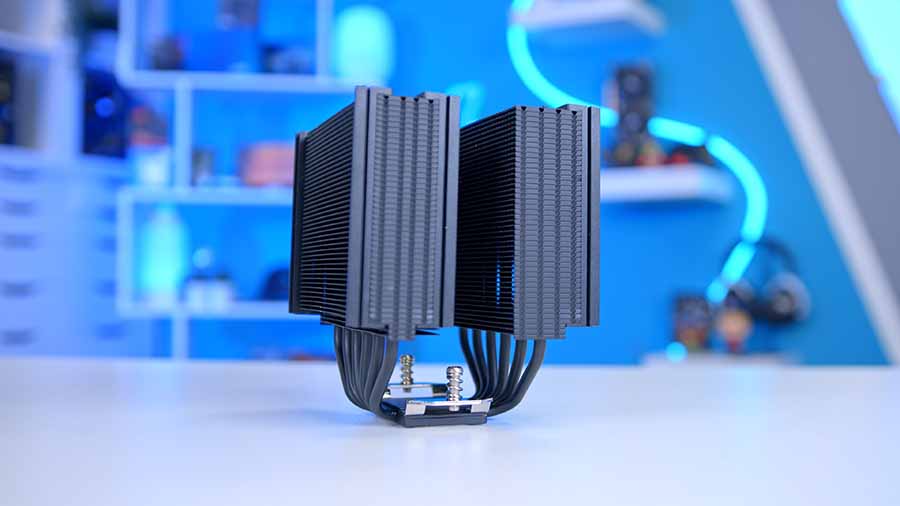
Taking a look at the Corsair A115 from a design point of view, this air cooler at a glance is quite large. With a width and length of 153x155mm, and a height of 164.8mm, the A115 is on the bigger side. This is a large dual-tower design, but the height shouldn’t impose any clearance issues within the vast majority of modern cases.
In terms of style, the Corsair A115 features a stealthy black look around the entirety of the cooler, aside from the mounting plate located at the bottom of the cooler.
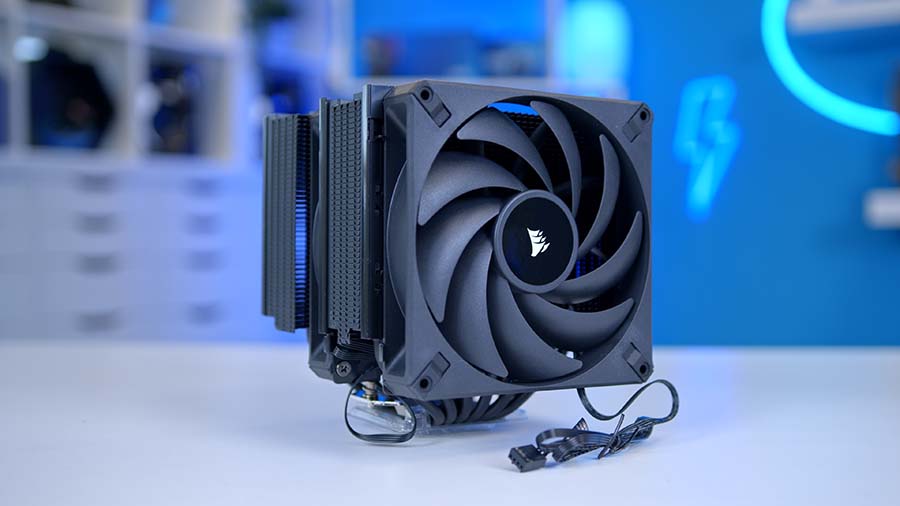
I’m a fan of the all-black aesthetic, as it helps this cooler blend in with a massive range of other dark components, while also contributing to an overall sleek look. I think the design is simple, but effective. The minimalist style is sophisticated, and consistent. The fact that both the heatpipes and heatsinks have also been coloured in black is a nice touch too.
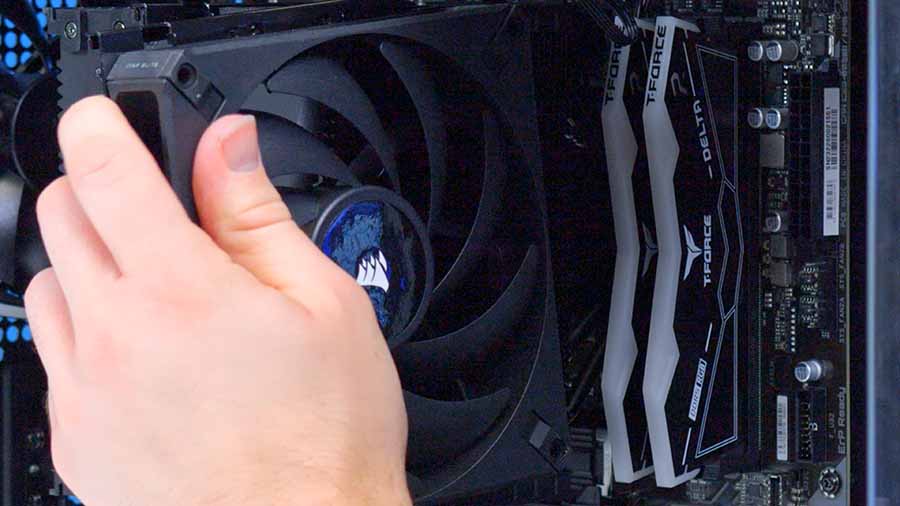
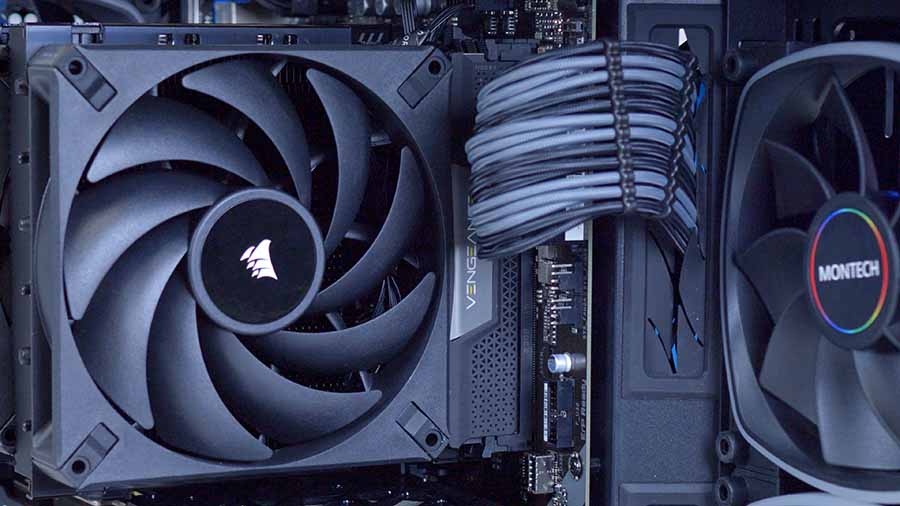
It is worth noting, that due to the size of this air cooler, RAM clearance is quite likely to be an issue if you’ve got a higher profile kit. It could potentially be worth taking a look at a lower profile option, such as Corsair’s Vengeance DIMMs if you’re building from scratch, as this will minimise any installation problems. We also found that due to the length of width of the A115, RGB RAM kits weren’t particularly visible under the imposing black fans and heatsink.
Corsair A115 Installation
CPU cooler mounting is relatively standardised across most manufacturers. However, there are certain steps that might differ dependent on the cooler that you’ve chosen. Fortunately, the Corsair A115 offers a relatively simple installation method, whether you’re building an AMD or Intel system.
The Corsair A115 comes with a vast set of accessories and mounting hardware, but the main pieces you’ll want to keep an eye on, are the brackets and screws. For Intel users, you’ll need the big ‘X’ backplate, and the larger brackets which are curved towards the middle, but round off with diagonal pieces.
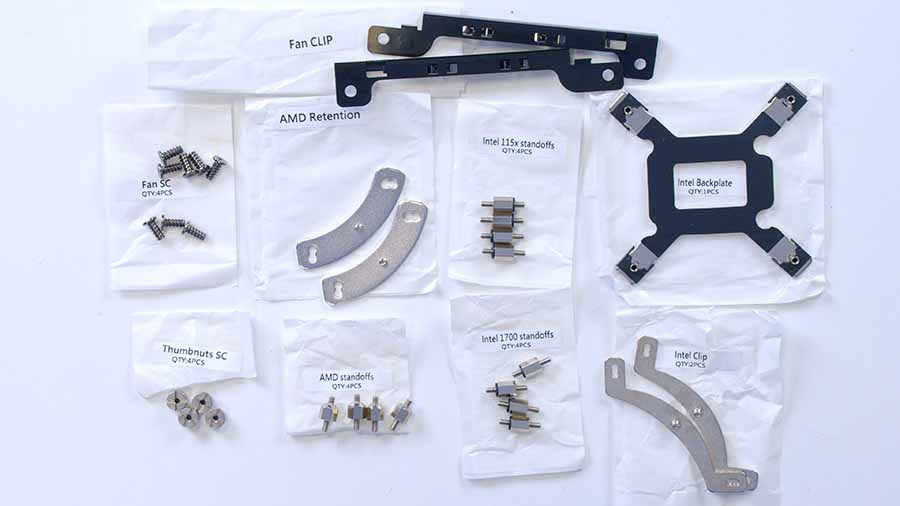
For AMD PC builds, you’ll need the smaller curved brackets along with the double-sided standoffs, and standoff screws. Those with an Intel system will need to get the backplate installed on the motherboard. This is relatively easy to do, just make sure you use the right standoffs to get the backplate fastened in. We used the Intel 1700 standoffs during our PC build, which are found in a small labelled bag.
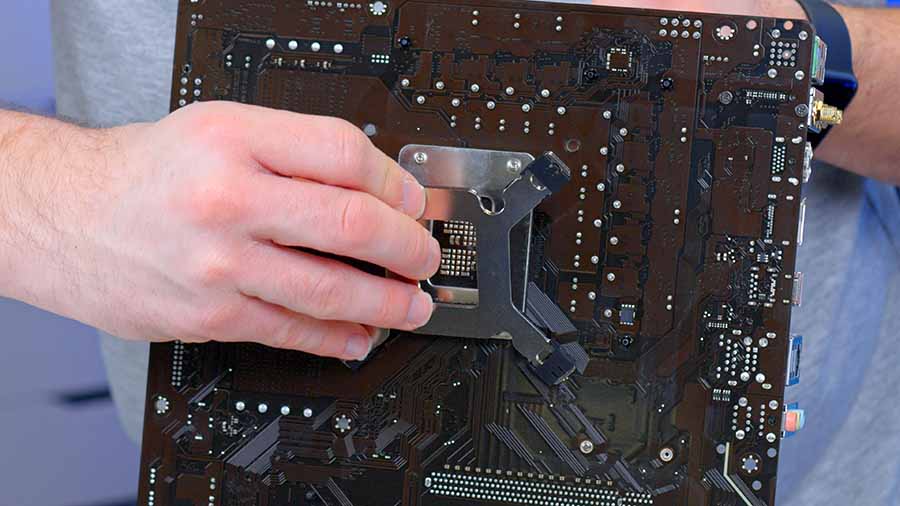
Make sure you tighten the standoffs enough to secure the backplate in place. You don’t need to use a wrench or pliers, thumb strength should be enough.
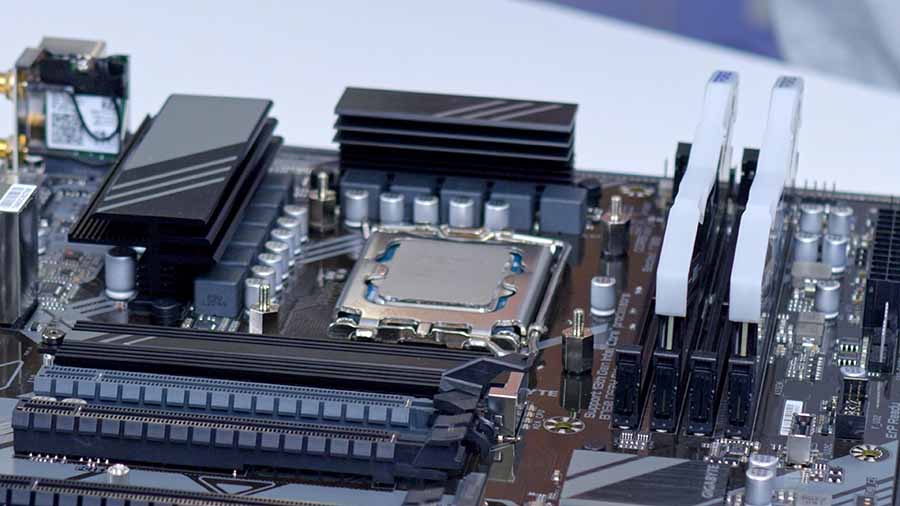
Then you’ll want to place both of the Intel mounting brackets on top of the standoff. Again, you’ll find these retention brackets inside another bag amongst the mounting hardware.
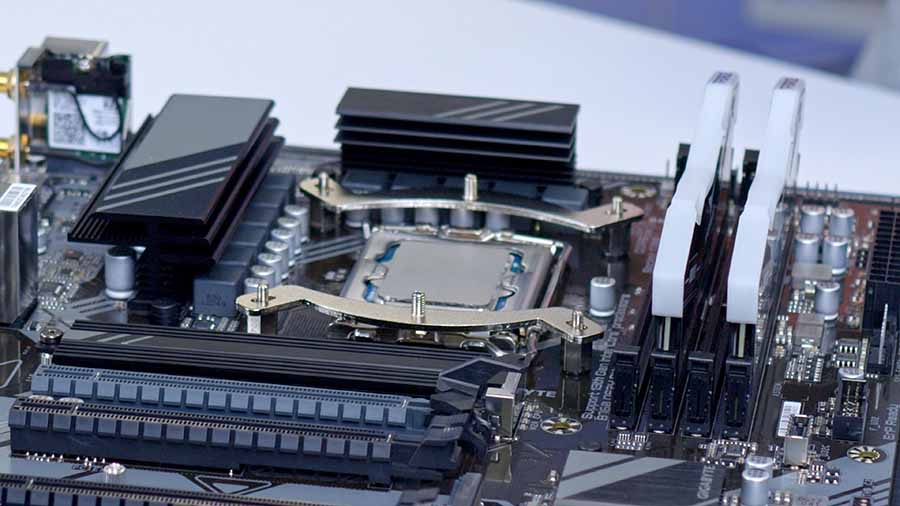
The retention brackets are then further secured by four thumbnuts. You’ll want to tighten these down with your fingers initially, and then use a screw driver to fully secure the brackets. Make sure not to over tighten as you could damage the motherboard.
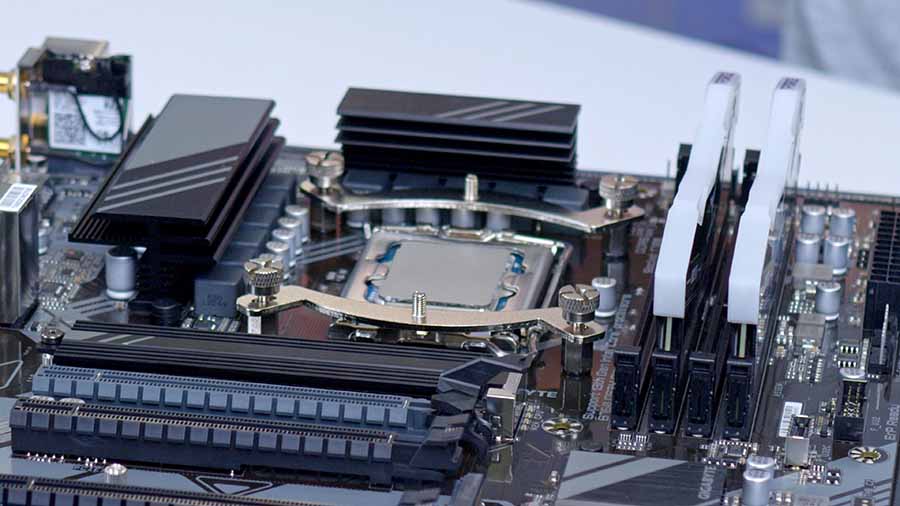
Securing the heatsink tower in place will require you to remove the centre pre-installed fan. Both of the fans of this cooler are on rails, so removing the cooler is extremely simple. You can just lift the fan out of the middle, providing you with access to the two captive screws.
Both of these screws need to be quite tight, but make sure you don’t apply too much torque. You’ll feel the resistance of the screws become much stronger, and this is when you should stop.
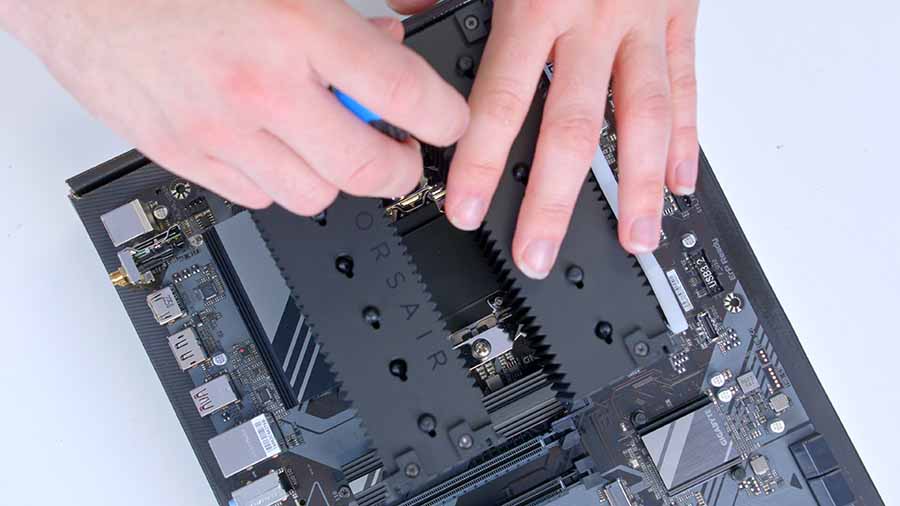
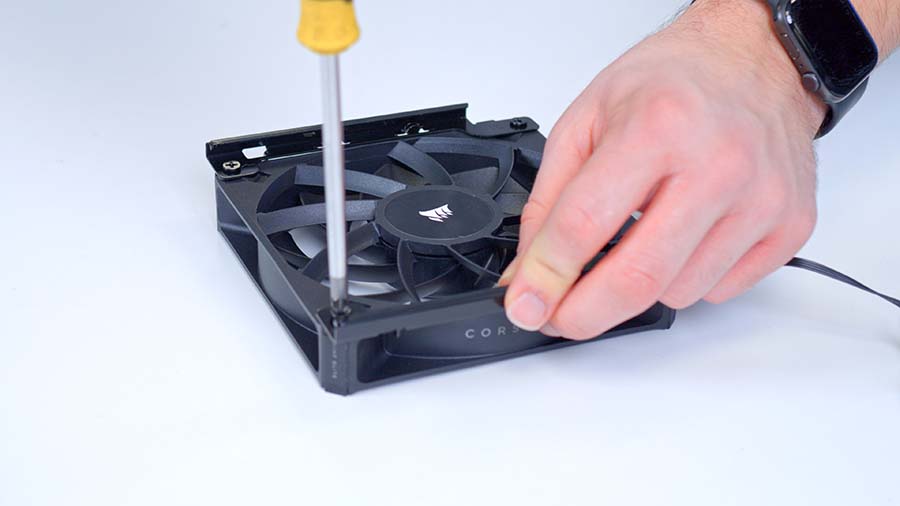
Once your motherboard is installed within your case, we’d recommend getting both of the fans installed, and the headers plugged in. The rails make this installation much simpler, but the second fan will require some additional assembly. You’ll want to find the screws and fan clips, securing both of the rails in place.
Corsair A115 Performance
To determine how well the Corsair A115 holds up against the rest of the market, we’ve put it through its paces within a range of synthetic benchmarks. The system that we used had a Core i7-14700K, along with some additional fans to maximise airflow. Each benchmark was run with different thread configurations, starting with 1, all the way up to the max core count.
The results we’ve provided are from three synthetic workload applications, Cinebench R23, CPU-Z, and FurMark. We’ve provided runs from 4 thread workloads and 8 thread workloads. These core counts are more typical of what you’d expect from a gaming-focused PC build, or a professional setup for video editing/streaming.
Cinebench R23 – 4 Threads
In Cinebench R23, the Corsair A115 held temperatures around the 66 degrees Celsius mark on average during the four-thread run. This is somewhat typical of a gaming workload, but admittedly, this CPU will sit higher than other options because the Core i7-14700K draws a lot of power. Regardless, the Corsair A115 held strong, keeping thermals at bay within this application.

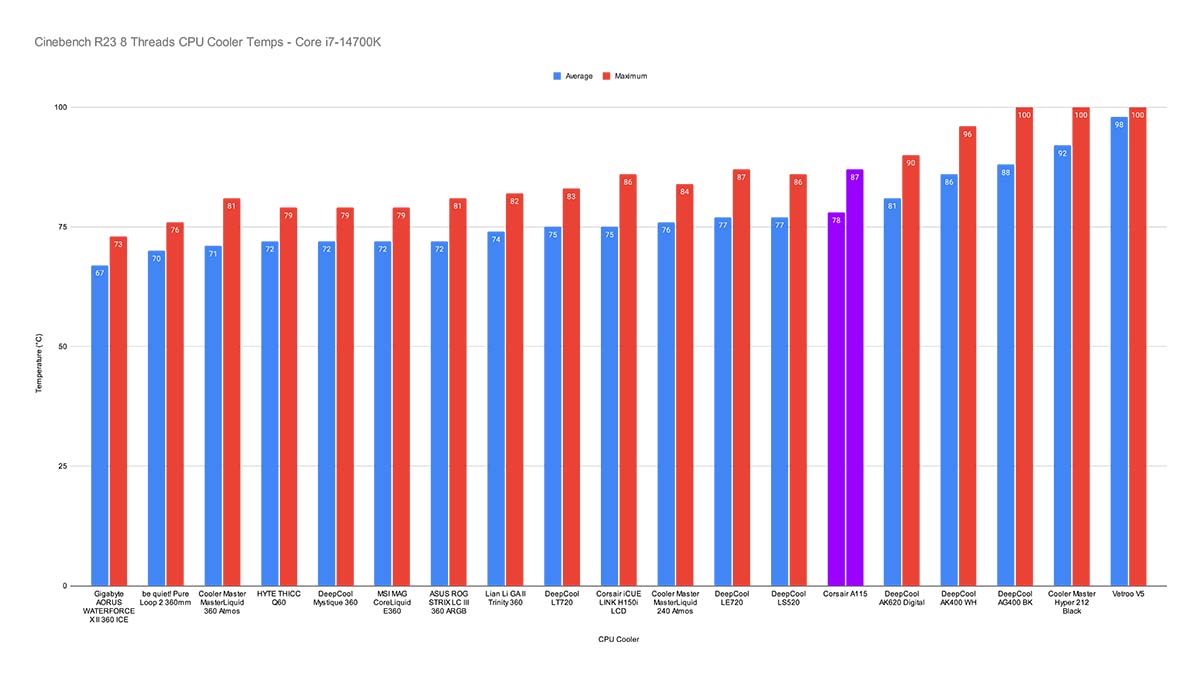
After we dialled up the number of threads to eight, temperatures started to rise. However, the Corsair A115 was able to hold back the Core i7-14700K around the 78-degree mark. This workload is more typical of what you’d expect from a workstation PC, where you’re using more cores on average and drawing a fair bit more power. But despite the increase in threads, the Corsair A115 held firm.
CPU-Z
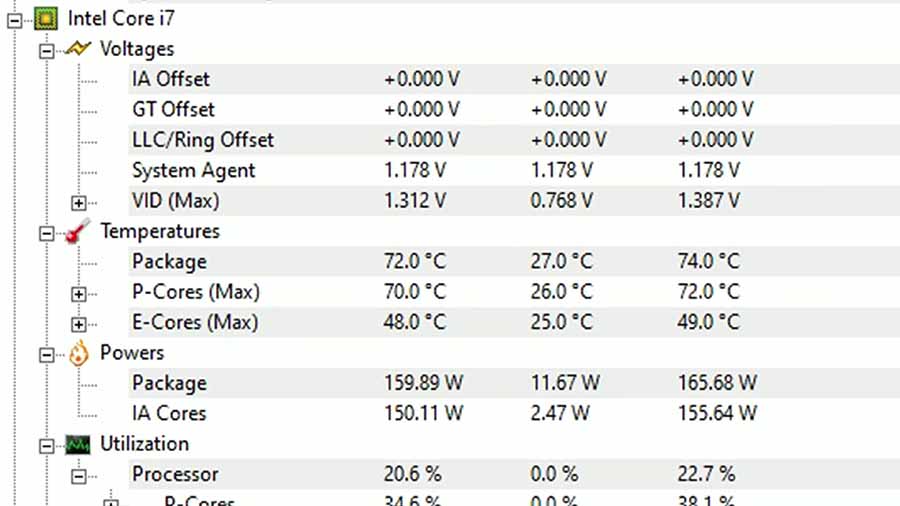
When we turned up the thread count to 8, the Corsair A115 was able to keep our Core i7-14700K at a steady 72 degrees. This is more than fine at this thread configuration, and demonstrates that the Corsair A115 is a solid air cooler for tougher workloads.
Features We Like
Mounting System
The Corsair A115 offers a relatively traditional mounting system that is mostly hassle-free when it comes to installation. Whether you’re an Intel or AMD user, the brackets come in their own separate bags, highlighting which ones you need for which socket. And because the mounting on the tower utilises captive screws, you’re not having to fiddle with loose parts.
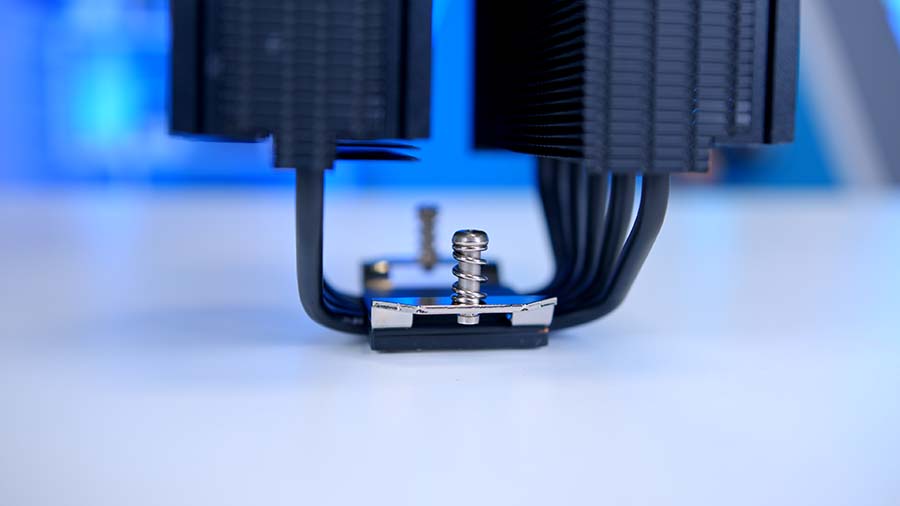
Thermal paste has also been pre-applied to the heatsink, further reducing the hassle of having to provide your own for your PC build.
Dual-Tower Design
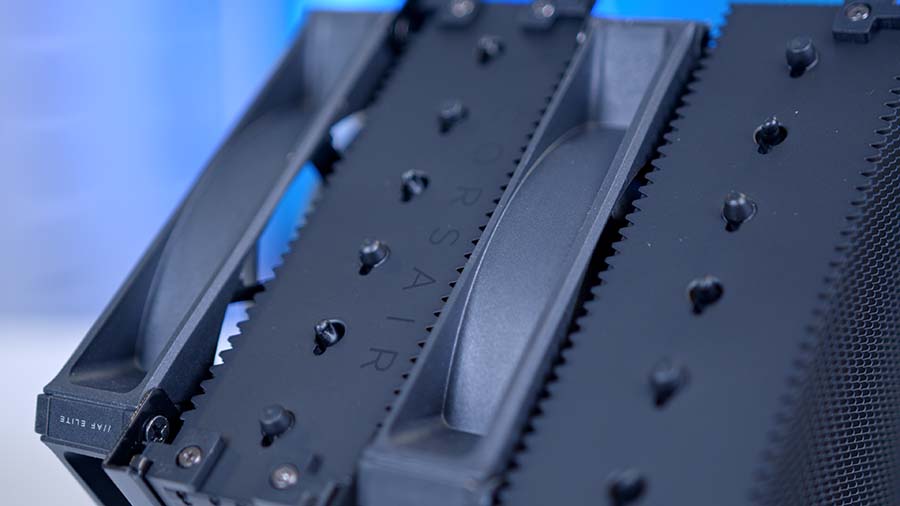
While single tower air coolers offer a solid-value proposition for budget PC builds, dual-tower air coolers step things up a notch when it comes to heat dissipation. The Corsair A115 offers two large heatsinks, which are paired with two AF140 ELITE fans, delivering concentrated airflow. The dual-tower design ensures heat is moved away from your CPU efficiently and quickly, keeping a lid on temperatures.
Features We Don’t Like
Large Form Factor
The Corsair A115 is one of the larger CPU coolers that we’ve looked at. For this reason, clearance issues are likely to be an issue within certain PC builds. RAM size is the main area worth highlighting, as the Corsair A115 does sit just over the top of the DIMMs.
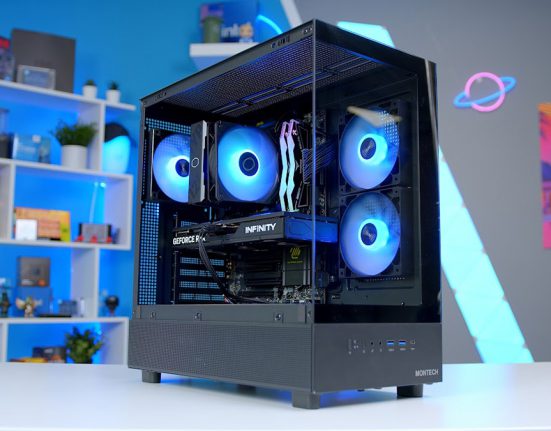
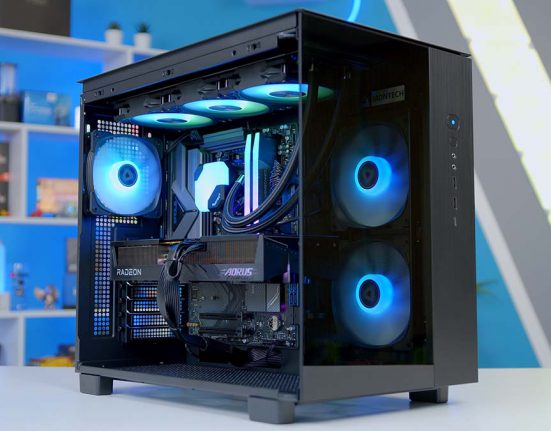
We originally used a Thermaltake kit within this Montech King 95 PC build, but we had to swap to a lower-profile Corsair Vengeance option. Even with a lower-profile RAM kit installed however, we still found clearance to be minimal. This is a pretty big weakness. It basically rules out a vast set of RAM options to choose. And while you can offset the fan by raising it slightly higher, you’re then going to reduce your airflow capabilities as the whole fan isn’t pushing air through the heatsink.
Conclusion
Corsair A115
Product Name: Corsair A115
Brand: Corsair
-
Features
-
Design
-
Performance
-
Value For Money
Summary
In a highly competitive market where a number of renowned manufacturers dominate the CPU air cooler space, is Corsair’s A115 worth picking up as a solid alternative? During our testing we found the Corsair A115 to offer strong performance metrics with high-end CPUs, keeping temperatures at bay even within tougher workloads. Installation was pretty simple across the board and required minimal effort, making it a good option for first-time builders.
The larger caveats that need to be considered when it comes to the Corsair A115, is the price, and the RAM clearance problem. We found a number of kits to suffer from clearance issues before swapping out to a smaller Corsair Vengeance kit. Whilst this kit helped to alleviate the clearance issues, we found that on the whole it was still a tight fit and does pose potential issues for those with larger kits.
On the price front, I feel the Corsair A115 suffers from being more expensive than the competition at times. Whilst this is a solid dual chamber offering, it becomes difficult to recommend the Corsair A115 over options like the Deepcool AK620, or the Assassin IV, where the price is cheaper and performance is relatively similar.
Despite this, I do think the Corsair A115 is still a very solid option, especially considering this is one of Corsair’s re-attempts to get back into the air cooler space. If you’re not worried about how much you’re spending, the A115 is a great air cooler to pick up. But if you’re on a budget there are definitively cheaper options that will offer similar performance metrics.
Pros
✅ Solid performance
✅ Easy to install
✅ Minimalist aesthetic
Cons
❌ Expensive
❌ RAM clearance issues
❌ No RGB


