Building a high-performance gaming PC for under $1000 is difficult. Because the component market is so competitive, finding the correct parts that meet your performance requirements and adhere to a $1000 budget can be difficult for the average PC builder.
To alleviate the stress of picking out parts for a PC build, we’ve put together this excellent $1000 guide. The stars of this system are the AMD Ryzen 5 7600 and Radeon RX 7700 XT, both of which are ideal for 1440p gaming on a budget. We’ve housed these inside the Phanteks Eclipse G360A, an affordable case with plenty of room for future upgrades.
This guide will walk you through the building process step-by-step, showing how everything gets put together. We’ll also explain why we chose each part and the expected performance metrics. This build guide article also has a dedicated YouTube video where James explains the process in more depth!
Build Process
Step 1: Installing the CPU
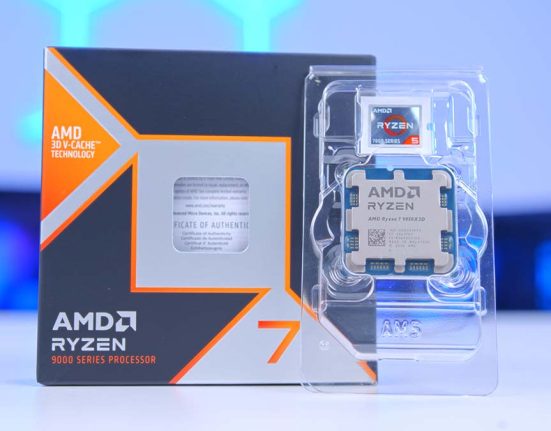
The most daunting step of any PC build is often the first step, installing the CPU. However, this is also one of the easiest parts of the building process, and we’ll walk you through how to get the CPU into the motherboard. The processor going into this build is the AMD Ryzen 5 7600. This CPU is a mainstay for mid-range and budget systems because of its excellent price point and strong single-core performance.

The Ryzen 5 7600 is one of the few sub-$200 CPUs that can maintain its high boost clock speed of 5.1GHz, which results in unrivalled gaming performance compared to similarly priced options on the market. With six cores and twelve threads, the Ryzen 5 7600 can also handle lighter multi-core workloads, making it a solid CPU for price-conscious content creators.
Remove the motherboard from its packaging and place it on the box to get started. We also recommend removing the small rectangular piece of metal (the IO shield), as we’ll need it later. Next, find the small arm next to the CPU socket and release it from the hook, holding it in place. Then, lift the metal covering the pins of the CPU socket.

Take the Ryzen 5 7600 from its packaging and locate the golden triangle. When the text is upright, this triangle is typically located at the top left of the CPU. Find the same arrow on the motherboard; this indicates which way up the CPU should face as it goes into the socket.

Once both arrows are lined up, slowly lower the CPU into the socket, which should drop in place. No force is required to get the CPU to sit in the socket. If you’ve lined everything up correctly, the CPU will be oriented correctly and sit in the socket.
Then, lower the metal arm at the side of the socket and secure it under the hook. It can take a fair amount of pressure to get the hook into place, but don’t worry; this is normal, as it will hold the CPU firmly inside its socket. While the CPU socket is being secured, the plastic protector will pop off; we recommend keeping this in case the motherboard needs to be returned or RMA.

The motherboard we’ve picked for this $1000 PC build is the MSI PRO A620M-E. The A620 chipset was introduced to the Ryzen 7000 range to provide a cheaper alternative to the existing motherboard options. Because of this, A620 motherboards are a bit more barebones than B650 and X670 boards, but despite this, they still offer a solid set of features that will be more than ample for a budget PC.

This Micro-ATX motherboard offers two RAM DIMM slots, supporting up to 128GB clocked at 6800MT/s. The Pro A620M-E comes with two Gen4 slots, one for the graphics card and one for an SSD. Unfortunately, Gen5 support doesn’t appear on this motherboard, but most prospective buyers aiming to build a PC around the $1000 mark won’t be worried about this.
| Specification | MSI PRO A620M-E |
|---|---|
| Form Factor | Micro-ATX |
| Supported Memory | 128GB DDR5 6800MT/s |
| PCI-E x16 Slots | 1 x PCI-E 4.0 |
| PCI-E x4 Slots | 1 x PCI-E 4.0 |
| Front IO | 1 x USB 3.2 Gen2x2 Type-C 1 x USB 3.2 Gen1 2 x USB 2.0 |
| Rear IO | 4 x USB 3.2 Gen1 Type-A 2 x USB 2.0 |
| Audio | 3 x Audio Jacks |
| Networking | Gigabit LAN |
The MSI PRO A620M-E has six USB ports, four of which are USB 3.2 Gen1 Type-A ports and two additional USB 2.0 ports. This board also offers a single Gigabit Ethernet port for networking, providing strong speeds for online gaming.

Step 2: Slotting the RAM In
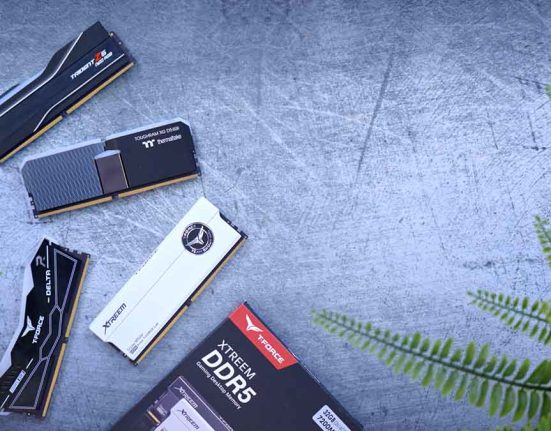
The RAM we’ve picked out for this system is the Teamgroup T-Force Delta kit, rated at 6400MT/s with a latency of CL40. The main reason we’ve chosen this kit is its excellent price point. While DDR5 RAM is considerably cheaper than when it first launched, most kits are still more than $100, which isn’t remarkably affordable compared to DDR4 RAM.

Furthermore, the Teamgroup T-Force Delta RAM offers a black heatsink with unique metal etchings. The dark aesthetic also blends in with the black theme used throughout the rest of this build.
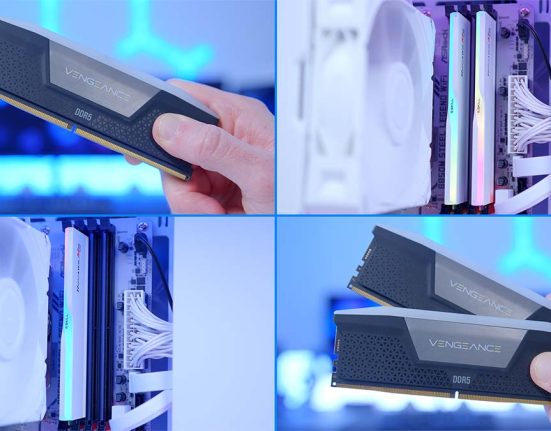
First, the two clips at the top of each RAM DIMM slot must be pushed down to get our RAM into the motherboard. These RAM DIMMs don’t have a lower clip that needs to be pressed down, saving us some time.

Once the slot is fully exposed, line up the RAM (it can only go in one way) and push it down firmly until it clicks in place. Make sure to apply even pressure to both sides of the RAM when pushing the DIMMs into the slots.

Step 3: Secure the SSD
Because the MSI PRO A620M-E is more of a barebones motherboard, there are no additional heatsinks or extra mechanisms that we can use to get the SSD installed. For this reason, getting our Crucial P3 Plus 1TB secured requires you to slot it in and screw it down. Most NVMe SSDs come with a screw, but if yours doesn’t, double-check the motherboard box.

Once you’ve lined up the Crucial P3 Plus, push it into the slot and apply downward force onto the drive so that it hovers over the screw-hole. Then take the small screw and a screwdriver with the right size thread and secure the SSD in place.

The Crucial P3 Plus 1TB SSD has been featured in several previous builds because it is one of the most robust Gen4 drives on the market. This SSD offers read speeds up to 5000MB/s and write speeds up to 3600MB/s, which is ample for modern AAA titles.
While we’d typically pick a 2TB capacity SSD, the P3 Plus 1TB version is incredibly cheap, which means more money can be spent on other components, such as the graphics card. This 1TB drive won’t allow you to install your entire Steam library, but it serves as a good starting point for storage without significantly restricting the amount of games that can be installed.

Step 4: Mounting the Stock Cooler
To save some money for this build, we’ve used the stock AMD cooler that comes with the Ryzen 5 7600. While this cooler isn’t likely to blow you away regarding thermals, the Wraith Stealth coolers are adequate for CPUs with a low TDP. Admittedly, the Ryzen 5 7600 can get hot occasionally, but it isn’t likely to thermal throttle in most games. We recommend upgrading to a better cooler later down the line, but the stock cooler will be more than ample for now.

To get this cooler mounted, first remove the plastic clips at the top and bottom of the CPU socket by unthreading the four screws. Keep these clips as some other coolers use them, so they’ll be handy if you upgrade.

After the posts around the socket are free, apply a rice grain-sized amount of thermal paste to the CPU’s IHS (internal heat spreader), as the stock cooler doesn’t come with any pre-applied.

Once this is done, line up the four screws with the four posts and secure them in a star pattern, going from corner to corner and making sure not to overtighten.

Finally, after all of the screws are nice and tight, take the small cable coming out of the CPU cooler and plug it into the CPU fan header located just left of the RAM DIMM slots.
Step 5: Place the Motherboard in the Case
For the next step of this build, we need to get the motherboard in the case. But before we do, some motherboard standoffs need to be moved around. The Phanteks Eclipse G360A supports Micro-ATX out of the box, but it isn’t pre-configured for us to quickly install a Micro-ATX motherboard. Unfortunately, there isn’t a legend on this case that shows where the standoffs need to be installed, so we recommend taking your motherboard and lining it up with the top-right standoff. This will then show where the motherboard standoffs need to be screwed in for the Micro-ATX board we’ve chosen.

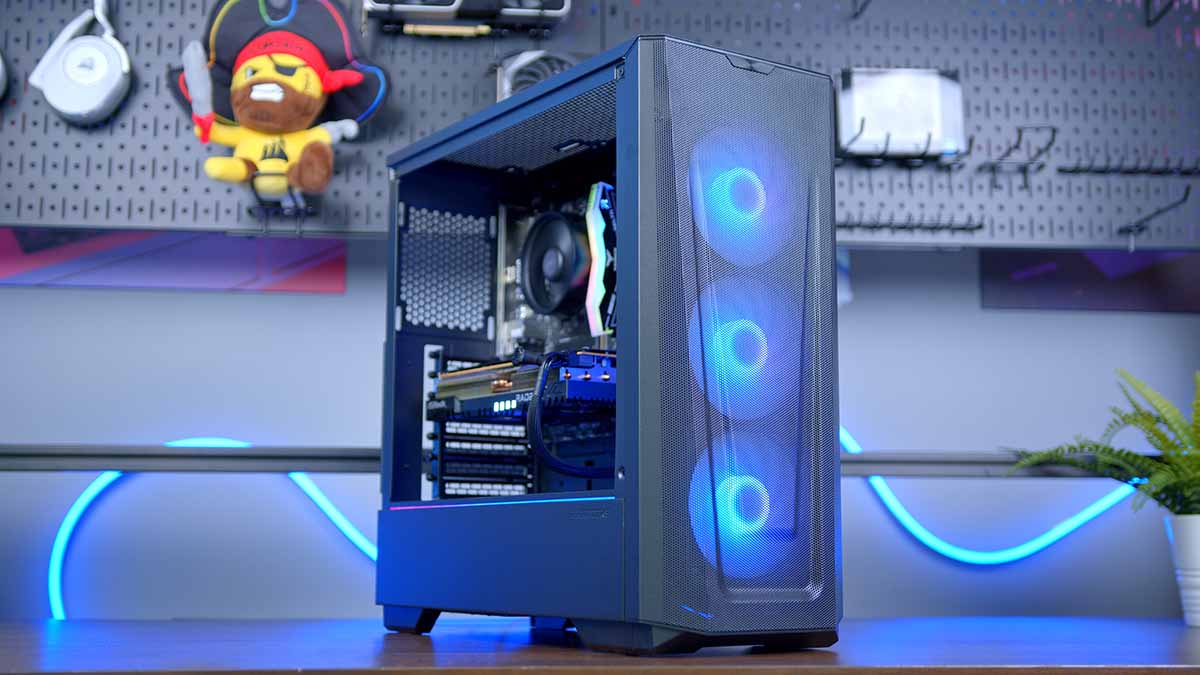
We’ll be housing the rest of our components in the Phanteks Eclipse G360A case, which is primarily geared towards budget systems. This chassis offers plenty of room for future upgrades, including space at the top and front for 360mm radiators and 400mm of clearance for graphics cards.

This case comes with three pre-installed RGB 120mm fans at the front, which sit behind a metal mesh panel designed to ensure high airflow and good thermals. The Eclipse G360A also has room for E-ATX motherboards and vertical GPU mounting, which is ideal for those who plan on upgrading.
| Key Specs | Phanteks Eclipse G360A |
|---|---|
| Form Factor | Mid-Tower |
| Motherboard Support | Mini-ITX, Micro-ATX, ATX, E-ATX |
| Case Dimensions (L x W x H) | 465mm x 455mm x 200mm |
| Front IO | 2 x USB 3.0 Type-A 1 x Mic/Audio Jack |
| PCI-E Slots | 7 |
| Colour | White or Black |
| Max Clearance | 162mm CPU Cooler Height 400mm GPU Length 280mm PSU Length |
| Drive Support | Up to 3 x 2.5 inch (2 included mounts) Up to 2 x 3.5 inch (2 included mounts) |
| Fan Support | Top: 2 x 140mm Front: 3 x 120mm Rear: 1 x 120mm |
| Radiator Support | Top: Up to360mm Front: Up to 360mm Rear: Up to 120mm |
| Pre-Installed Fans | 3 x 120mm |
Once the motherboard standoffs are in the correct place, take the IO shield that we put aside earlier and place it into the cutout towards the top left of the case. Be careful when installing the IO shield, as this piece of metal is quite sharp.

Next, lay the case flat and line the motherboard up with the standoffs inside the case. Find the motherboard screws that come in the small cardboard accessory box and secure the board in place.

Step 6: Install the Graphics Card
The component handling most of our gaming performance is the RX 7700 XT, specifically the ASRock Challenger variant. The ASRock Challenger RX 7700 XT is one of the few cards that sits below the $400 mark. While the RX 7700 XT had a bit of a rocky start, with a number of price drops, its value proposition has only increased, making it a great GPU for 1440p gaming.

The RX 7700 XT is great for Esports and modern AAA titles at 1440p. Our testing found that this card offers around 70-90FPS in games like Starfield, Apex Legends, COD Warzone, and more. Because we’ve saved some money on the build by sticking to a stock CPU cooler and 1TB SSD, we can afford a beefy graphics card instead of being restricted to something like the RX 6750 XT or RX 7600.
| Specification | ASRock Challenger RX 7700 XT |
|---|---|
| Video Memory | 12GB GDDR6 |
| Memory Bus | 192-Bit |
| Core Clock Speed | 1.43GHz |
| Boost Clock Speed | 2.58GHz |
| Stream Processors | 3456 |
| Ray Accelerators | 54 |
| Compute Units | 54 |
| Power Consumption | 245W |
| GPU Length | 267mm |
First, we must remove the PCI-E covers to install this card in the Phanteks Eclipse G360A. Remove covers two and three, then push the graphics card into the slot until you hear a click.

Then, secure the GPU in place by screwing it down into the second and third PCI-E covers. Make sure to use the same screws that were removed, as you risk potentially threading the hole by using different screws.

Step 6.5: Mount a Rear Fan (Optional)
We’ve included this optional step to optimise airflow, which will net you better thermals. The Phanteks Eclipse G360A doesn’t have fans installed at the rear of the case, so we’ve got two choices here. Either buy some fans and install an extra one at the rear, or take one of the pre-installed fans at the front of the case and move it to the back.

The latter options will be preferable to save some money, but those with better fans will see some thermal and airflow benefits. To move one of the fans from the front, unplug the header and unscrew it. Then screw it back in at the rear of the case and thread the fan cable through one of the cutouts so that the header can be plugged in again.
Step 7: Power Supply & Cabling
The penultimate step of this PC build involves installing the power supply and wiring up all of the cables and power connectors. We’ve opted for the Corsair CX650, an ATX unit with an 80 Plus Bronze efficiency rating.

The CX650 is incredibly reliable and affordable compared to other power supplies. Its 80 Plus Bronze efficiency rating ensures minimal power will be lost as additional heat or noise, which is ideal as this system is more thermally constrained due to the stock cooler and fans.
Before securing the power supply, we recommend managing any cables beforehand, which will save some time later on. Then slide the power supply into the chamber through the back of the case, and secure it in place with the four screws found in the accessory box.

For this PC build, you’ll need three types of cabling: 24-pin motherboard power, 8-pin EPS CPU, and 8-pin PCI-E (this cable will have two headers). The first cable we’ll want to plug in is the motherboard power, which has a long rectangular connector. The header can only go in one way and is fully seated once the clip is engaged and the cable can’t be pulled out.

Next is CPU power. This header is located at the top left of the motherboard, and again, it only goes one way. Do not confuse PCI-E and EPS CPU, as they look similar.

To power the RX 7700 XT, two PCI-E headers must be plugged into the graphics card. The CX650’s PCI-E cable comes with two headers that split into a 6+2-pin configuration. Both headers on the ASRock Challenger RX 7700 XT are 8-pin, so get these plugged in and ensure the cables are nice and secure.

Step 8: Front Panel Cables & Power On
The last step of this build is to plug in any additional cables and power on the PC. You’ll need to plug in the front panel cables, which are JFP1, HD Audio, a USB 3.0 header, fan headers, and any RGB.
Now is also an excellent opportunity to manage any cables using the included cable ties that come with the case. It’s worth noting that the cable channels at the rear of the chassis aren’t particularly deep, so make sure any managed cables are flat to reduce the risk of bulging.

Finally, place the rear and side case panels back on, plug in a kettle lead, peripherals and a monitor, and then switch the PC build on!
Performance
![]()
1440p, High Settings
Avg: 195FPS
Preset: High
V-Sync: Off
Anti Aliasing: TSAA
Texture Filtering: 8x
Ambient Occlusion: High
Volumetric Lighting: High
Dynamic Shadows: Enabled
Model Detail: High
![]()
1080p, Comp. Settings
Avg: 289FPS
Preset: Low
V-Sync: Off
Render Distance: Far
TSR: Off
Global Illumination: Off
Ray Tracing: Off
Effects: Low
Post Processing: Low
![]()
1440p, High Settings
Avg: 188FPS
Preset: High
V-Sync: Off
DLSS: Performance
Textures: High
Particle Quality: High
Tessellation: Near
Shaders: High
![]() 1440p, High Settings
1440p, High Settings
Avg: 123FPS
Preset: Recommended
V-Sync: Off
Anti-Aliasing: TAA High
Effects Quality: High
Texture Quality: High
Shadow Quality: High
Motion Blur: Off
From our testing and benchmarking, the ASRock Challenger RX 7700 XT and Ryzen 5 7600 perform well at 1440p high settings across games like Apex Legends, Hogwarts Legacy and COD Warzone. This excellent budget system is more than can easily cope with the demands of 1440p gaming, offering smooth framerates across a range of titles.
Gallery


![FI_[DM89] Phanteks Evolv + AORUS 5090 9850X3D Gallery (8)](https://geekawhat.com/wp-content/uploads/2026/02/FI_DM89-Phanteks-Evolv-AORUS-5090-9850X3D-Gallery-8-551x431.jpg)
![FI_[DM88] 16GB DDR5 9060 XT Build Gallery](https://geekawhat.com/wp-content/uploads/2026/02/FI_DM88-16GB-DDR5-9060-XT-Build-Gallery-551x431.jpg)