The AMD Radeon RX 7900 XT is a graphics card that has significantly increased in value since its launch in 2022. With some price drops following the launch of the RTX 4000 SUPER range, the RX 7900 XT is in a solid position as a card primarily aimed at 4K gaming. But picking out which parts are the best to pair with this monster of a card isn’t the most straightforward task.
So, to save you some hassle, we’ve done the hard part and configured an excellent RX 7900 XT system. This build utilises the AMD Ryzen 5 7600 and is housed inside the Phanteks XT View case.
As always, our PC build guides are written alongside a dedicated video that discusses our part selection and the building process in much greater depth. We recommend following this video while reading this article, as it acts as a solid visual aid to help you build the system we’ve put together.
Build Process
Step 1: Socketing the CPU
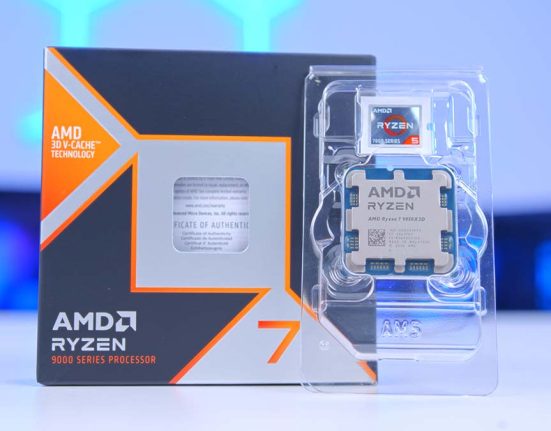
The brains of this PC build is the AMD Ryzen 5 7600. For those who keep up with our PC-building content, you’ve probably noticed that we’ve used several AMD CPUs recently. This ultimately comes down to the fact that AMD is the go-to option for gamers looking for the best value. The AMD Ryzen 5 7600 is solid because of its exceptional price and low power budget.

As a sub-$200 CPU, the AMD Ryzen 5 7600 is highly affordable and an excellent option for mid-range and budget PC builds. Additionally, its low power budget allows it to perform well. Because it doesn’t draw much power, it can easily clock up to its 5.1GHz speed and maintain this during gaming and other workloads. Depending on the graphics card pairing, the Ryzen 5 7600 is an excellent performer in various games.
To install this CPU into the build, remove the motherboard from its box and place it on top. This acts as a solid but soft surface to work on, minimising any damage to the board. After this, unhook the metal retention arm next to the CPU socket and lift the socket cover up to expose the pins underneath.

Find the golden triangle on the AMD CPU. This is usually found at the top right of the processor. There is also a matching arrow on the board. Line these arrows up, indicating which way the CPU must be correctly orientated to slot into the socket. Lower the CPU slowly into the motherboard, and don’t apply any force to the processor once it sits inside the socket.

Place the metal cover back on the CPU and push the metal retention arm underneath the hook. This can require some force. While this happens, the plastic protector will sometimes ping off. Keep this inside the motherboard box in case it is needed for an RMA or repair in the future.

The motherboard we’ve opted for in this configuration is the MAG B650 TOMAHAWK WiFi. While this motherboard isn’t the fanciest in terms of features or design, it offers decent connectivity and expansion. The B650 TOMAHAWK WiFi has three Gen4 M.2 slots for ample storage expansion and a Gen4 graphics card slot.
| Specification | MSI MAG B650 TOMAHAWK WiFi |
|---|---|
| Form Factor | ATX |
| Supported Memory | 256GB DDR5 7600MT/s |
| PCI-E x16 Slots | 1 x PCI-E 4.0 |
| PCI-E x4 Slots | 3 x PCI-E 4.0 |
| Front IO | 2 x USB 2.0 1 x USB 3.2 Gen1 Type-A 1 x USB 3.2 Gen2 Type-C |
| Rear IO | 2 x USB 2.0 4 x USB 3.2 Gen1 Type-A 3 x USB 3.2 Gen2 Type-A 1 x USB 3.2 Gen2x2 Type-C |
| Audio | 1 x Optical S/PDIF 5 x Audio Jacks |
| Networking | WiFi 6E 2.5 Gigabit LAN |
This board also features ten USB ports: two USB 2.0 ports, four USB 3.2 Gen1 Type-A ports, three USB 3.2 Gen2 Type-A ports, and a USB 3.2 Gen2x2 Type-C port. There’s plenty of high-speed connectivity here, along with 2.5 Gigabit LAN and WiFi 6E for those who prefer a wireless approach.

Step 2: Slot the RAM DIMMs
The RAM in this PC build is a returning set of DIMMs from TeamGroup, the T-Force Delta RGB kit. Due to its competitive pricing, we’ve used this RAM numerous times across various PC builds. Sitting close to $100 at the time of writing, this TeamGroup RAM is affordable and offers ample performance for gaming. With a speed of 6400MT/s and a latency of CL40, these sticks can handle gaming without issue but struggle with more challenging workloads.

Aesthetically, the TeamGroup T-Force Delta kit matches the look of the build we’re putting together. Each stick features a black heat spreader with a strip of addressable RGB LEDs that can be fully customised and synced with other lighting in this system.
To install this RAM, first, push down the tabs at the top and bottom of slots two and four. We always use these slots when a build only has two DIMMs available, as they provide the best performance compared to other configurations.

Once this is done, take one of the RAM DIMMs and line it up with the second slot on the motherboard. They can only go one way, so ensure the orientation is correct. Then, apply even pressure to both sides of the stick and firmly push it into the slot. You’ll hear a click sound, indicating that the RAM is seated correctly. Do this again for the second RAM stick.

Step 3: Securing the Storage
Keeping with the affordability theme, the storage we’ve opted for in this configuration is another returning face, the TeamGroup MP44L SSD. This drive is incredibly reliant, and despite being used across several PC builds, it remains hardy and copes with modern-day tasks. The TeamGroup MP44L offers speeds up to 5000MB/s on the reads and 4500MB/s on the writes. This ensures load and boot times are kept to a minimum.

This build uses a 1TB iteration of the MP44L drive regarding capacity. Generally, we tend to steer gamers towards the 2TB version, as this provides better space for games and applications. However, 1TB is enough for a solid selection of big games, the operating system, and other applications.
Getting this into the build is incredibly simple. First, remove the main heatsink at the top of the motherboard using a Phillips head screwdriver. Once the heatsink has been freed, remove the tape covering the thermal pads underneath and place the heatsink to one side.

Push the TeamGroup MP44L into the drive slot. It will poke out at a 45-degree angle until fully secured. Place the heatsink back on top of the drive and use the screwdriver to secure the heatsink. This will be enough to keep the heatsink from moving around.

4. Mounting the CPU Air Cooler
The last part we can install outside the case is the air cooler, of which we’ve chosen the Cooler Master Hyper 212 Halo in black. The Hyper 212 Halo slightly differs from its original Hyper 212 counterpart, which uses a standard black heatsink with a non-RGB fan. The fan on the Hyper 212 Halo features a ring of RGB around the edge, while the fan blades are also translucent and glow.

The fan controls airflow and thermals, pushing plenty of cool air through the heatsink. The heat pipes also dissipate heat efficiently and ensure the coolant doesn’t overheat.
Remove the fan from the cooler before we start attaching mounting hardware. This will provide us with easy access to the spring-loaded screws underneath, which we need to use to secure the Hyper 212 Halo to the board.

Next, remove the plastic AMD clips from the motherboard. This is done by loosening the four screws around the CPU socket. Keep these inside the motherboard box if needed for a potential upgrade.
Now, attach both of the mounting brackets to the cooler. The bracket is marked as ‘E’ in the instructions, while the screws as noted down as ‘F’. Flip the Hyper 212 Halo upside down, secure these to the cooler, and ensure that the spring-loaded screws are pointing upwards.

Apply some thermal paste to the top of the CPU. We typically recommend adding a rice-grain-sized amount, as this should provide coverage of the entire IHS (internal heatspreader). Place the heatsink on the CPU and tighten down the spring-loaded screws. Move back and forth between each screw, tightening them gradually. Add the fans back on once the cooler is fixed to the board.

Step 5: Place the Motherboard Inside the Case
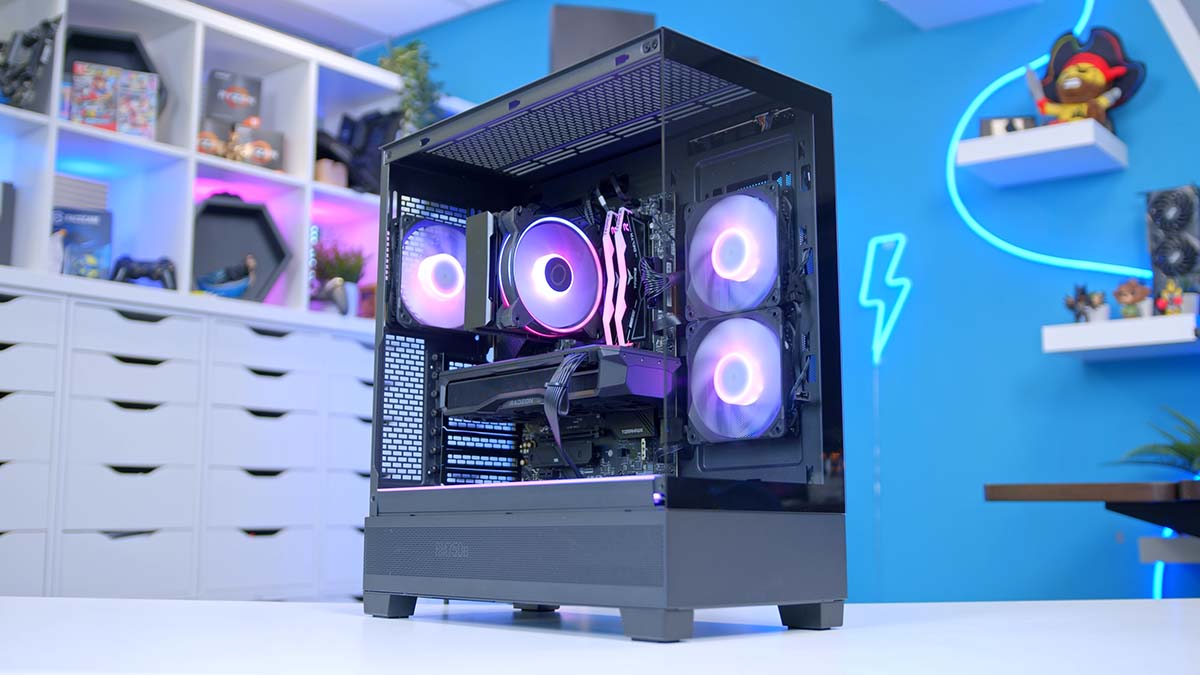
As the introduction mentions, the chassis housing this build’s components is the Phanteks XT View. Phanteks have been on a roll recently, with many new components becoming extremely popular. We’re big fans of the NV5, which takes a similar design approach to the XT View, but the big difference is that this case comes with fans.

The XT View features a fish-tank style glass aesthetic with a tempered side and front panel, providing a whole window into the build. It has three 120mm D-RGB fans (two on the side panel and one on the rear). This case supports reverse connector motherboards, which allow builders to create an immaculate system. It can also accommodate an additional six 120mm fans (three on the bottom and three on the top) and a 360mm radiator on the top panel, so there’s ample component support throughout the case.
| Key Specs | Phanteks XT View |
|---|---|
| Form Factor | Mid-Tower |
| Motherboard Support | Mini-ITX, Micro-ATX, ATX, E-ATX |
| Case Dimensions (L x W x H) | 440mm x 230mm x 500mm |
| Front IO | 1 x USB 3.2 Gen2 Type-C 1 x USB 3.0 Type-A 1 x 3.5mm Combo Jack |
| PCI-E Slots | 7 |
| Colour | White or Black |
| Max Clearance | 184mm CPU Cooler Height 415mm GPU Length 270mm PSU Length |
| Drive Support | Up to 5 x 2.5 inch (2 included mounts) Up to 2 x 3.5 inch (2 included mounts) |
| Fan Support | Top: 3 x 110mm Bottom: 3 x 120mm Rear: 1 x 140mm Side: 3 x 120mm |
| Radiator Support | Top: Up to 360mm Side: Up to 240mm Rear: Up to 120mm |
| Pre-Installed Fans | 3 x 120mm |
The Phanteks XT View is configured to support ATX motherboards, so we don’t need to move any standoffs. Lay the Phanteks XT View flat, place the board inside the case, lining up the rear IO with the cutout towards the top left of the chassis.
Note: In the image we’ve provided, James installs the motherboard inside the case while the chassis is still upright. However, we recommend laying the case flat if you’re a first-time builder or have little experience.

Ensure the holes on the motherboard connect with the standoffs, then screw the board in. Don’t overtighten the screws, as this could potentially damage the PCB or the traces on the board.

Step 6: Installing the Graphics Card
The AMD Radeon RX 7900 XT Reference card deals with all the graphical horsepower. The RX 7900 XT initially landed in hot water due to its relatively high price. However, following some price drops towards the start of 2024, the card is in a considerably better position.
Performance-wise, the RX 7900 XT is an excellent competitor in rasterised gameplay, offering high framerates at 4K and 1440p. It has 20GB of GDDR6 VRAM on a 320-bit memory bus for ample bandwidth.

The reference model is the particular variant of the RX 7900 XT used in this build. When AMD releases a graphics card, it offers a reference model that uses the card’s baseline specification, which other versions are based on. This means there are no extra performance bonuses, but this is still a triple-fan card that provides solid thermals. It also blends in with the black theme we’ve gone for with this build.
| Specification | AMD Radeon RX 7900 XT Reference Card |
|---|---|
| Video Memory | 20GB GDDR6 |
| Memory Bus | 320-Bit |
| Core Clock Speed | 1.38GHz |
| Boost Clock Speed | 2.4GHz |
| Stream Processors | 5376 |
| Ray Accelerators | 84 |
| Compute Units | 84 |
| Power Consumption | 315W |
| GPU Length | 276mm |
First, remove the PCI-E covers at the back of the case to install this card. The RX 7900 XT Reference card only uses two slots, so we can remove slots two and three, which is enough space for this GPU.

Next, line up the card with the PCI-E x16 slot on the motherboard. It can only go in one way, so ensure the card is oriented correctly. Then, apply even pressure to both sides of the card (similar to what we did with the RAM) until you hear a click sound. This indicates that the card is seated and secure in the slot.

Finally, use the screws removed from the PCI-E covers to secure the GPU to the chassis. Don’t use any other screws, as these can damage the threads on the PCI-E covers.

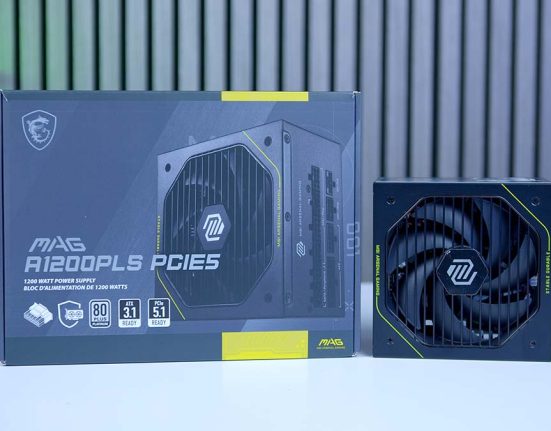
Step 7: Power Supply & Cabling
The power supply is the last component we must install in this build. This provides all of the power for the parts we’ve installed. Corsair’s RM750e. is a unit that’s been featured quite a few times across our mid-range PC builds because it is incredibly reliable, offers a fully modular cabling system, allows us to keep the build tidy, and offers solid efficiency.

Although the Corsair RM750e is somewhat pricier than we’d typically choose, it’s worth spending a little more to provide better longevity. This allows builders to upgrade easily in the future, as this power supply is likely to last for quite some time.
We’ll plug in the cables before installing the power supply inside the case. The Corsair RM750e is fully modular, so we can pick out the necessary cables for this system. In this build, we used one 24-pin motherboard power cable, two 8-pin EPS CPU cables, and two 8-pin PCI-E cables for the graphics card.

Once these are all plugged in, slide the power supply into the back of the case and use the hexagonal screws to secure it to the chassis.

Next, we can start wiring up all of the cables. Starting with motherboard power, this long rectangular header is usually located on the right side of the motherboard. The cable can only go in one way. Give it a firm push to ensure it’s seated correctly.

The MSI B650 TOMAHAWK WiFi has two CPU headers at the top left of the board. You don’t have to plug in both for the build to work, but it’s good practice to do so. Again, push both headers to ensure the cable clips are engaged.

The final set of power cables is for the graphics card. They look somewhat similar to the CPU headers but are slightly different. Plug both of these into the RX 7900 XT.

Step 8: Front Panel Cables & Switch On
In this final step, we can take this opportunity to manage any wires and plug in the front panel cables. We typically recommend doing cable management in the middle of the build to save some time at the end. However, this can be left until all components are installed so we know the clearances.

While this is being done, we recommend plugging in the front panel wires for the case. The Phanteks XT View has one USB 3.0 port and one USB Type-C port, alongside a 3.5mm combo jack, so we can wire these all up to use the IO at the top of the chassis.
USB C and USB 3 headers are usually found close together, just underneath the motherboard header on the right side of the motherboard. Both of these cables can only be plugged in one way.

JFP1 (or front panel power) sits at the bottom right of the motherboard. The Phanteks XT View uses a unified header instead of individual pins, so plugging this in is incredibly simple. The JFP1 header also has one pin blocked out, so it’s pretty easy to figure out which way it needs to be plugged in.

Once this is done and you’re happy with cable management, put the panels back on the case, grab a monitor and your favourite peripherals, and switch on the power!
Performance
![]()
1440p, High Settings
Avg: 268FPS
Preset: High
V-Sync: Off
Anti Aliasing: TSAA
Texture Filtering: 8x
Ambient Occlusion: High
Volumetric Lighting: High
Dynamic Shadows: Enabled
Model Detail: High
![]()
1080p, Comp. Settings
Avg: 345FPS
Preset: Low
V-Sync: Off
Render Distance: Far
TSR: Off
Global Illumination: Off
Ray Tracing: Off
Effects: Low
Post Processing: Low
![]()
1440p, High Settings
Avg: 102FPS
Preset: Custom
Resolution Scaling: FSR
Texture Quality: High
Anisotropy: x8
Contact Shadows: On
Ambient Occlude: High
Frame Generation: On
![]() 1440p, High Settings
1440p, High Settings
Avg: 77FPS
Preset: Custom
Resolution Upscaling: FSR
Texture Res: High
Volumetric Light: High
Shadow Res: High
SSAO: On
Motion Blur: Off
Framerates reached 102FPS in Starfield and rose past 70FPS in Alan Wake II. The AMD Radeon RX 7900 XT offers solid rasterised gameplay, demonstrating its capability in modern AAA titles.
The strong performance continued through to the Esports games. Fortnite and Apex Legends saw great metrics, with 345FPS and 268FPS, respectively.
Gallery


![FI_[DM93] Corsair 3200D Launch](https://geekawhat.com/wp-content/uploads/2026/03/FI_DM93-Corsair-3200D-LAUNCH-551x431.jpg)