The RX 7800 XT is one of the market’s most competitive AMD graphics cards. It can handle 1440p without issues and offers excellent framerates in modern games. It is meant for a mid-range system. So, what better way to show off this card than with an affordable $1200 gaming PC build to maximise performance while keeping costs low.
In this building guide, we’ve put together an excellent system with the Ryzen 5 7600 and RX 7800 XT housed inside the MSI MAG Forge 320R, keeping within a budget of $1200.
This article shows off the entire building process from start to finish, along with an explanation and reasoning of our part choices, followed by some benchmarks at the end. We recommend following this guide alongside the dedicated video, where James goes into greater depth, with more coverage of the assembly and installation process.
Build Process
Step 1: Installing the CPU
The first significant step of this PC build involves socketing the CPU inside the motherboard. We’ve opted for the AMD Ryzen 5 7600 processor in this price-conscious build. This is one of AMD’s strongest value CPUs in terms of single-core gaming performance. Due to its low power draw and core count, the Ryzen 5 7600 consistently reaches its boost clock speed of 5.1GHz, making it a solid competitor in modern games.

Across our testing and benchmarking, the Ryzen 5 7600 easily handles 1080p and 1440p, and 4K also becomes a viable option when paired with the right graphics card. Additionally, its sub-$200 price point makes it a worthwhile pickup for those on a budget, and with the launch of Ryzen 9000 processors, prices are likely to fall even further, increasing the value proposition even more.
First, remove the motherboard from its box and place it on top. This smooth and sturdy surface to work on will hold the board in place while minimising any risk or damage to the pins on the bottom of the PCB.

Unhook the metal retention arm and lift the CPU socket cover, exposing the pins underneath. Find the golden arrow on the CPU, typically located at the top right of the processor. There is a matching arrow on the motherboard. Line these up, and this indicates the correct orientation of the processor.
Then, slowly lower the CPU into the socket, not applying any force. If the arrows are lined up correctly, the Ryzen 5 7600 should drop on top of the pins and requires no additional movement.

Place the CPU socket cover back on top of the CPU and the metal arm underneath the hook. It requires some pressure to get the arm to sit correctly underneath the hook. This may feel odd, but it is a normal part of the process. While the hook is being pushed back down, the plastic protector on the metal cover will pop off. Keep this inside the motherboard box for any potential RMAs or repairs in the future.

The motherboard the Ryzen 5 7600 has just been installed into is the MSI B650 Gaming Plus WiFi. This board is primarily aimed at the budget side of the market, hence its more barebones design. However, MSI has spiced up the look slightly with some heatsinks, adding flair while keeping components cool. Despite its somewhat restrictive appearance, the B650 Gaming Plus WiFi is not lacking in the features department.

This board features two Gen4 SSD slots, which are ideal for expanding storage options. RAM can be overclocked up to 7200MT/s speeds, granting extra performance for those willing to push their RAM further.
| Specification | MSI B650 Gaming Plus WiFi |
|---|---|
| Form Factor | ATX |
| Supported Memory | 256GB DDR5 7200MT/s |
| PCI-E x16 Slots | 2 x PCI-E 4.0 |
| PCI-E x4 Slots | 2 x PCI-E 4.0 |
| Front IO | 1 x USB 3.2 Gen2 Type-C 1 x USB 3.2 Gen1 2 x USB 2.0 |
| Rear IO | 1 x USB 3.2 Gen2x2 Type-C 3 x USB 3.2 Gen2 Type-A 4 x USB 3.2 Gen1 Type-A |
| Audio | 6 x Audio Jacks |
| Networking | WiFi 6E 2.5 Gigabit LAN |
Additionally, the B650 Gaming Plus WiFi has a solid selection of rear IO, including eight ports. These ports comprise four USB 3.2 Gen1 Type-A ports, three USB 3.2 Gen2 Type-A ports, and a single USB 3.2 Gen2x2 Type-C port offering up to 20Gbps speeds. Networking is also great, and this board includes support for WiFi 6E and 2.5 Gigabit LAN, so there are plenty of options for those who prefer wired or wireless.

2. Slotting in the RAM
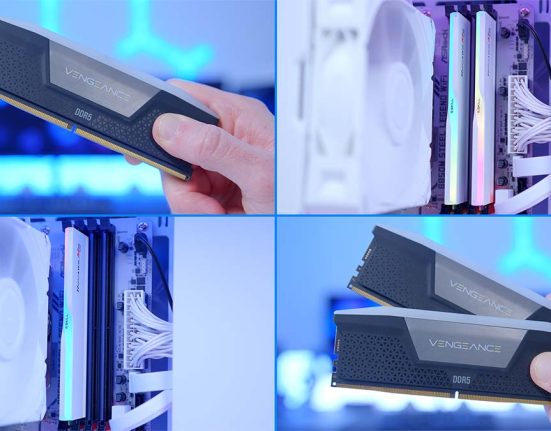
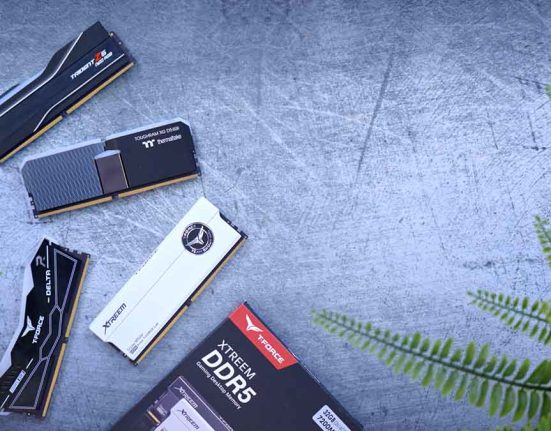
RAM is the next part we’ll be installing, and in this configuration, we’ve opted for the TeamGroup T-Force Vulcan kit. These DIMMs are a bit plainer than their Delta counterparts and don’t feature RGB lighting on top of the heat spreader. Despite this, the T-Force Vulcan RAM offers a black heat spreader, which blends in nicely with the darker theme in this build.

Aesthetic aside, the TeamGroup T-Force Vulcan RAM clocks in at 6000MT/s with a latency of CL30. While a kit like this isn’t entirely necessary for gaming, its high speed and low latency make it a great pickup for this PC build, providing minor performance boosts in various applications and games.
Getting this TeamGroup RAM installed is pretty straightforward. First, push down the tabs on slots two and four on the motherboard. These slots provide the most efficient performance when using two sticks of RAM.

Line up the RAM with the motherboard slots, ensuring the memory is oriented correctly. RAM sticks can only go in one way. Apply even pressure to both sides of the RAM and push down until you hear a click. This sound indicates that the RAM is seated correctly and that both push tabs are locking it in place. Do this a second time to install the other RAM DIMM.

Step 3: Mount the SSD
Next up is storage. The drive that we’ve chosen for this build strikes a balance between pricing and performance. The TeamGroup MP44L is a Gen4 SSD that we’ve used across various builds because of its consistency in games and reliability through intense usage. Additionally, the MP44L is highly affordable, sitting close to the $60 mark at the time of writing. For this reason, it is an excellent budget pickup.

We’ve opted for the 1TB version in this PC configuration. However, 1TB will be more than enough for a range of big games, your operating system and any additional applications such as game launchers or Discord.
To install this SSD, the motherboard heatsink needs to be removed first. With a small Phillips screwdriver, loosen and take out the two screws securing the heatsink in place. Take the tape strips off the thermal pad underneath the heatsink and place it to one side.

Place the TeamGroup MP44L SSD into the slot, which will poke out slightly at a 45-degree angle. Push it down and use the EZ latch to hold the drive in the slot.

As the last step, put the heatsink back on top of the drive slot, line it up with the threads and standoff, then tighten it down using the two Phillips screws that we removed earlier.

Step 4: Secure the CPU Cooler
Next is the CPU cooler, for which we’ve chosen the Vetroo V5. This tower air cooler competes with budget air coolers like the DeepCool AG400 and AK400 ranges. Despite being a cheaper cooler, the Vetroo V5 is ample for this system and can handle the thermal output of the AMD Ryzen 5 7600, even during intense gaming sessions.

The Vetroo V5 has a single 120mm ARGB fan, which can be synced with other RGB components in this build. Additionally, it offers mounting hardware for LGA 1700 and AM5 systems, so there’s room to upgrade in the future.
First, the plastic AMD clips must be removed before we can do anything. The Vetroo V5 secures to the CPU via the posts underneath. With a Phillips screwdriver, loosen the four screws that hold these plastic clips in place, and put the clips inside the motherboard box, as they could be used for a potential upgrade in the future.

Flip the Vetroo V5 upside down and grab the two AMD mounting brackets. These point north and south instead of diagonally and will line up with the threads around the CPU socket. Using the mounting screws, secure both of the brackets to the cooler with the spring-loaded screws pointing upwards.

Squeeze a rice grain-sized blob of thermal paste on top of the CPU. The Vetroo V5 does not have pre-applied thermal paste, so we need to add our own.

Finally, place the Vetroo V5 on top of the CPU, lining up the screws with the threads on the motherboard. This may take a couple of tries, but once the threads are lined up, screw them down.
Top Tip: We recommend tightening the screws in a star pattern. Start with one of the screws, tighten this, move diagonally to the next screw, then go up or down to tighten the third screw, and move diagonally again for the last one. Repeat this until all of the screws are tight.
Step 5: Place the Motherboard Inside the Case
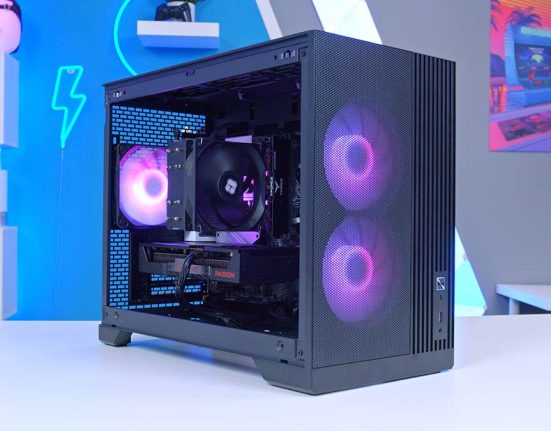
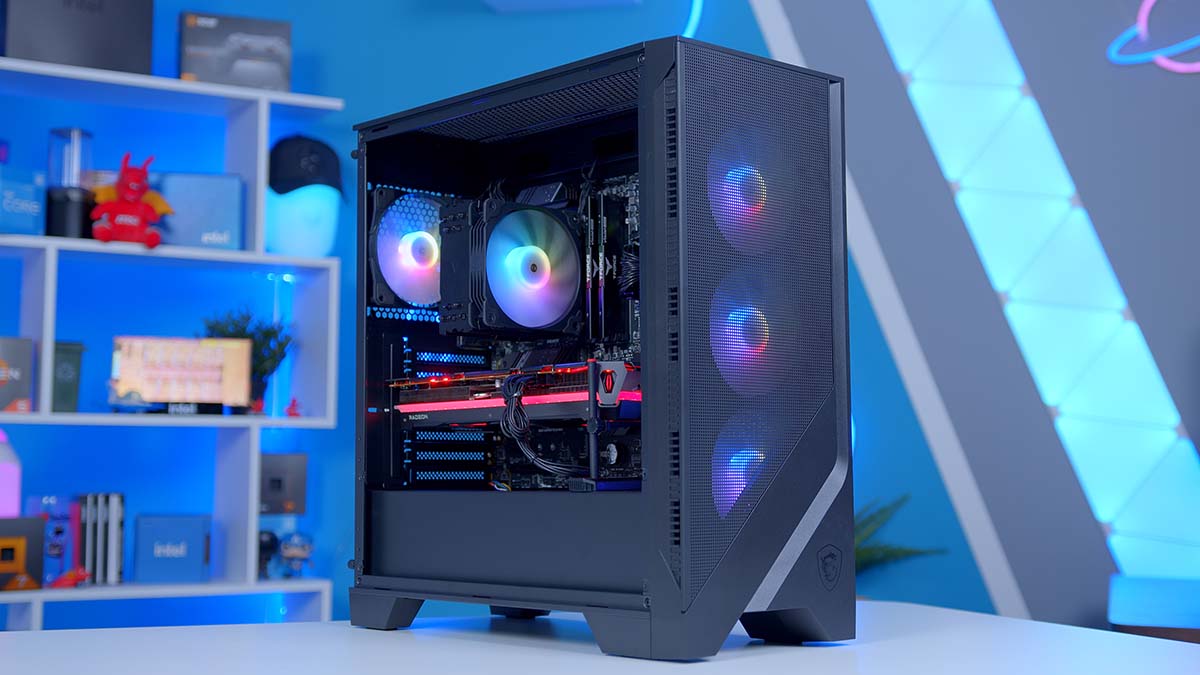
Now that we’ve installed everything outside the case, we’ll place the motherboard inside the chassis to continue with the rest of the build. We’ve chosen the MSI MAG Forge 320R case for this build based on its competitive pricing and well-rounded set of features. At the time of writing, the MAG Forge 320R is priced at around $80, making it a highly affordable mid-range PC case compared to the rest of the market.

Features-wise, the MAG Forge 320R has a mesh front and top panel designed to maximise airflow. It supports graphics cards up to 390mm long and CPU coolers up to 160mm tall and can accommodate a maximum of eleven 120mm fans, moving plenty of cool air throughout the case.
| Key Specs | MSI MAG Forge 320R |
|---|---|
| Form Factor | Mid-Tower |
| Motherboard Support | Mini-ITX, Micro-ATX, ATX |
| Case Dimensions (L x W x H) | 472mm x 210mm x 498mm |
| Front IO | 2 x USB 3.2 Gen1 Type-A 1 x 3.5mm Microphone Jack 1 x 3.5mm Headphone Jack |
| PCI-E Slots | 7 |
| Colour | Black White |
| Max Clearance | 160mm Cooler Height 390mm GPU Length 200mm PSU Length |
| Drive Support | Up to 3 x 2.5 inch Up to 2 x 3.5 inch |
| Fan Support | Front: 3 x 120mm Top: 3 x 120mm Rear: 1 x 120mm Side: 2 x 120mm PSU Shroud: 2 x 120mm |
| Radiator Support | Front: Up to 240mm Top: Up to 360mm Rear: Up to 120mm |
| Pre-Installed Fans | 4 x 120mm |
The correct standoffs need to be added before placing the motherboard inside the case. The MAG Forge 320R is configured for smaller builds out of the box, so three standoffs are missing on the right-hand side. Using a plier or a wrench, place these into the case and screw them in until they’re nice and tight.
Note: The following image does not show a standoff. We wanted to illustrate where the standoffs need to go without using them. Standoffs require either a wrench or a set of pliers because they don’t offer a cutout for a screwdriver.

Next, grab the metal IO shield and place it into the rectangular cutout towards the top left of the case. The IO shield is quite sharp, so take care when pushing this into the cutout.

Lay the case flat and place the motherboard inside, lining up the small holes with the standoffs at the back of the case. Use the included motherboard screws to tighten the motherboard down, ensuring you don’t overtighten.

Step 6: Install the Graphics Card
One of the last components we’ll install is the graphics card. As mentioned in the introduction, the RX 7800 XT is the main feature of this PC build. This GPU is a mid-range titan aimed at 1440p gaming in modern AAA and Esports titles. It features 16GB of GDDR6 VRAM on a 256-bit memory bus, alongside 3840 stream processors and 60 ray accelerators. Thanks to its excellent hardware, the RX 7800 XT is a powerhouse of performance and a competitively priced pick for this build.

This particular variant is the PowerColor Red Devil version. While this card is priced slightly higher than MSRP, it’s worth considering for many reasons. The triple-fan design, for instance, helps keep this card incredibly cool under load. This version of the RX 7800 XT also features a slight overclock to the boost speed, increasing performance in various games and applications.
| Specification | PowerColor Red Devil RX 7800 XT |
|---|---|
| Video Memory | 16GB GDDR6 |
| Memory Bus | 256-Bit |
| Core Clock Speed | 1.29GHz |
| Boost Clock Speed | 2.56GHz |
| Stream Processors | 3840 |
| Ray Accelerators | 60 |
| Compute Units | 60 |
| Power Consumption | 263W |
| GPU Length | 332mm |
At the back of the case is a small thumbscrew that attaches to a shroud for the PCI-E covers on the rear panel. First, the thumbscrew must be loosened, and then the shroud can be removed or slid to the side.

Next, we need to remove the PCI-E covers. Unfortunately, MSI has opted for single-use covers, so we need to remove the right ones. We removed the third and fourth covers (from the top) for this particular build, which provided enough space for the PowerColor RX 7800 XT Red Devil.

Place the graphics card into the PCI-E slot on the motherboard. Firmly push down on both sides until the GPU clicks, indicating it is correctly seated inside the slot. Use the included graphics card screws to secure the GPU to the case, and tighten the shroud over the thumbscrews.
Finally, grab the GPU sag bracket that comes with the PowerColor RX 7800 XT Red Devil to push the graphics card up and alleviate any stress from its weight.

Step 7: Securing the Power Supply
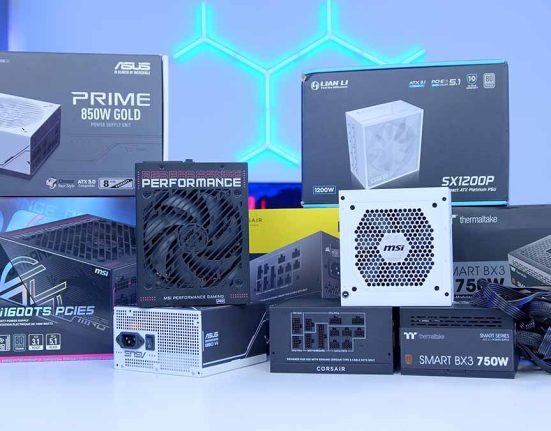
The last component we’ll install in this build is the MSI MAG A650BN power supply. This non-modular unit offers 650 Watts of power and features an 80 Plus Bronze efficiency rating, minimising power loss as heat or noise. The A650BN offers comprehensive circuit protection, minimising the risk of a short or potential damage to your system. It also has a five-year warranty as standard, which is a solid value add.

As this is a non-modular power supply, we can skip a step, which usually involves plugging in all the necessary cables. The A650BN comes with all of the cables mounted to the PSU, so we can install the PSU inside the case straight away. To do this, slide the power supply to the back of the case and use the four hexagonal screws to secure it in place.

Next, we’ll start wiring up all the cables in this build. Motherboard power is first. This is a long rectangular header that can only go in one way. It is typically located on the right side of the motherboard. Once the motherboard power cable is plugged in, give it a firm tug to ensure the cable clip is engaged.

This motherboard has two headers located at the top left of the PCB for CPU power. Plug in both 8-pin headers at the top left. Although the second connector isn’t always necessary, it’s good practice to plug in both, as it offers better power delivery to the CPU.

The graphics card that we’re using requires standard PCI-E 8-pin power as opposed to the 12VHPWR cable seen on NVIDIA graphics cards. The RX 7800 XT only needs two due to its low power consumption. Get these plugged in, and double-check that the cable clips are engaged.

The MAG Forge 320R features a built-in RGB hub, which can control all of this build’s lighting. It uses SATA power, so it needs to be plugged in alongside the rest of the cables in this system. SATA power cables are friction fit, so they easily snap together and will stay this way once connected.

Step 8: Front Panel Wires & Cable Management
Now that all the components are installed and we know our clearances, this is an excellent time to start cable management. We recommend doing this while plugging in all the front panel cables, as these can be pretty finicky to manage. The front panel cables that need to be plugged in for this build are JFP1 power, HD Audio, and USB 3.0. The case or cooler doesn’t use any USB 2.0 or USB-C ports, but there are two USB 3.0 ports on the front IO. Get the USB 3.0 plugged in at the bottom of the motherboard.
The last two headers are HD Audio and JFP1. The audio header has a blocked-out pin, so find the same set of pins where one is missing and plug it in.

The last header is JFP1. Fortunately, MSI has provided a dedicated header instead of individual pins, which makes plugging in this cable much more manageable by comparison.

We advise managing all cables before tying anything down for the final step of the PC build. Use the cutouts around the case and the various channels to hide the wires and keep them out of sight.
Once the cables have been managed appropriately, put the panels back on, plug in power, a monitor and some peripherals, and press the power button!
Performance
Our benchmarking data shows that the RX 7800 XT and Ryzen 5 7600 combo perform exceptionally well in modern titles at 1440p. This powerhouse PC can easily handle the demands of intense gaming and offers high framerates across a range of titles.
Gallery




 1440p, High Settings
![FI_[DM89] Phanteks Evolv + AORUS 5090 9850X3D Gallery (8)](https://geekawhat.com/wp-content/uploads/2026/02/FI_DM89-Phanteks-Evolv-AORUS-5090-9850X3D-Gallery-8-551x431.jpg)
