At $1500, building an excellent mid-range gaming PC is highly feasible due to the sheer number of component choices. But with so much variety on offer, those starting from scratch or who haven’t upgraded in some time may find it difficult to sift the bad from the good to find the best value parts.
That’s where this $1500 gaming PC build guide comes in! At this price point, we’ve configured a high-end system with the AMD Radeon RX 7900 XT as the primary focus for graphical power. We’ve paired this card with affordable parts like the AMD Ryzen 5 7600X and a Gigabyte B650 Eagle AX motherboard.
As always with our build guides, we’ll go through the entire process step by step while briefly detailing why we’ve picked out each component.
This guide was written alongside a dedicated build video, which we recommend watching as a good visual aid.
Build Process
Step 1: Installing the CPU
Before we jump into the installation, it’s worth briefly looking at the CPU we’ve chosen for this build, the AMD Ryzen 5 7600X. We’ve repeatedly returned to this reliable processor for its exceptional price point and unrivalled single-core performance. Because the Ryzen 5 7600X has a relatively low power budget, it can easily clock up to its 5.3GHz boost speed, which is perfect for gaming.

Specs-wise, the Ryzen 5 7600X is a six-core, twelve-thread CPU and maxes out at 5.3GHz on the boost speed straight out of the box. However, the ‘X’ at the end of its name denotes its overclocking capability. So those looking to squeeze out some extra performance can do so by pushing the boost speed higher.
As always, we recommend taking the motherboard out of its box and placing it on top, as this acts as a soft work surface. We’ll install the CPU, RAM, and SSD outside of the case, saving some time. First, unhook the metal retention arm and lift the CPU socket cover, revealing the pins underneath.

Find the golden arrow on the CPU (for AMD, this is typically at the top left), then find a matching arrow on the motherboard. Line both of these up. This indicates the correct orientation of your CPU. Now, carefully lower the CPU into the socket until it drops in place. No force is required to get the CPU in. It should sit correctly if you’ve lined up the arrows.
Finally, place the metal socket cover on the CPU and push the retention arm back under its hook. It takes a fair amount of pressure to get the arm seated under the hook, but don’t worry; this is normal. While this is happening, the plastic protector will likely pop off. Keep this in case of a future RMA or repair.

The motherboard connecting up all of the components in this build is the Gigabyte B650 Eagle AX. The Eagle range has primarily been restricted to graphics cards, but in recent years, Gigabyte has started manufacturing Eagle motherboards, which sit in the mid-range market. The B650 Eagle AX offers solid features but is designed explicitly with the price-conscious buyer in mind.

Regarding the features, the B650 Eagle AX motherboard offers RAM overclocking up to 7600MT/s, supports Gen5 SSDs, and has two more Gen4 slots for additional storage upgrades. Rear IO is decent, with nine ports in total, three of which are USB 3.2 Gen1 or higher, and the rest are USB 2.0. There are also solid networking options, such as WiFi 6E or Gigabit LAN.
The Gigabyte B650 Eagle AX’s aesthetic is a bit bland compared to some other mid-range boards, but based on its competitive pricing, this is relatively easy to swallow. Overall, this is a solid mid-range option that fits in well with the theme and budget of the build.
| Specification | Gigabyte B650 EAGLE AX |
|---|---|
| Form Factor | ATX |
| Supported Memory | 192GB DDR5 7600MT/s |
| PCI-E x16 Slots | 1 x PCI-E 4.0 |
| PCI-E x4 Slots | 1 x PCI-E 5.0 2 x PCI-E 4.0 |
| Front IO | 1 x USB 3.2 Gen1 1 x USB 3.2 Gen1 Type-C 3 x USB 2.0 |
| Rear IO | 2 x USB 3.2 Gen2 Type-A 1 x USB 3.2 Gen1 Type-C 6 x USB 2.0 |
| Audio | 3 x Audio Jacks |
| Networking | WiFi 6E Gigabit LAN |

Step 2: Slot in the RAM
The RAM kit we’ve opted for in this configuration is a Corsair Vengeance DDR5 RGB kit. Regarding specs, this Corsair memory comes in with a speed of 6000MT/s while CAS latency sits at CL36. Ultimately, we could have picked out a higher-end set of RAM, but CL36 is ample for gaming, which is what this system is aimed at.

Additionally, Corsair Vengeance RAM is some of the best-looking memory on the market and is generally compatible with most systems. We find that Corsair RAM is very reliable across the builds we put together and causes the least problems with fresh systems. On top of this, the RGB strips on top of each DIMM look great and add some flair to this system that may be lacking in other components that don’t offer any RGB.
Pull both tabs down on DIMM slots two and four to get this Corsair RAM kit into the B650 Eagle AX motherboard. These slots are the most efficient configuration when there are only two sticks of RAM, so this will offer the strongest performance compared to what would happen if we used slots one and three.

After pulling down the tabs, line up one of the RAM DIMMs with slot two on the motherboard, apply even pressure to both sides and push firmly until you hear a click. This indicates the RAM is correctly seated. Repeat this step with the other stick of RAM in slot four, and your memory has successfully been installed.

Step 3: Mount the SSD
For storage, we’ve picked out the P3 Plus from Crucial. Gen4 SSDs have reached a point where pricing is hugely competitive for high-capacity drives. For this reason and because of the budget we’re adhering to, it makes sense to pick out a cheaper drive to maximise the available cash we have to spend on other components.

The Crucial P3 Plus drive fits the bill perfectly for this PC build. Offering read and write speeds up to 5000MB/s and 3600MB/s, respectively. While this isn’t the strongest performing Gen4 SSD on the market, it perfectly suits this system’s needs, offering excellent speeds for 4K gaming.
First, unscrew the heatsink to get this SSD into the B650 Eagle AX motherboard. The primary SSD slot has a small screw towards the left-hand side. Loosening this allows you to slide the heatsink to the left and remove it from the board.

Then, pull off the plastic strips on the heatsink and underneath the SSD slot to expose the thermal pads, which help with heat dissipation. Push the P3 Plus into the slot; it will poke out at a 45-degree angle, which is normal. Place the heatsink back on top of the drive by sliding it into the small notch above the slot, and screw it down like before.

Step 4: Install the Motherboard In the Case
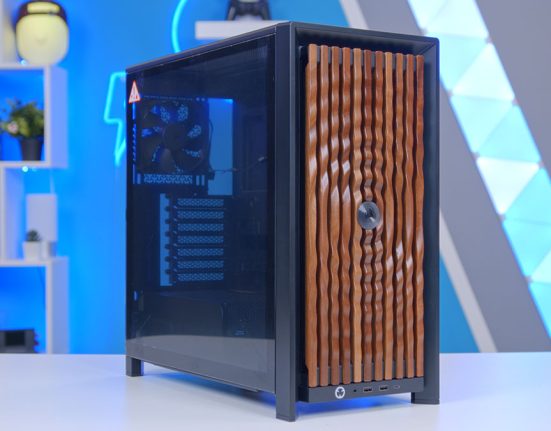
The PC case housing this build’s components is the Pop Air RGB from Fractal Design. We’ve used this case for other mid-range builds due to its affordable pricing and solid features. The Pop Air comes with three pre-installed 120mm RGB fans, with two mounted at the front of the case and one at the rear assisting airflow and thermals.

The Pop Air RGB utilises a mesh front panel, allowing air to flow easily and adding visual flair thanks to the honeycomb-patterned mesh. Regarding component support, at the maximum, the Pop Air can house a 280mm radiator at the front or a 240mm radiator on the top panel. This case also has space for graphics cards up to 405mm long and CPU air coolers up to 170mm tall.
| Key Specs | Fractal Design Pop Air RGB |
|---|---|
| Form Factor | Mid-Tower |
| Motherboard Support | Mini-ITX, Micro-ATX, ATX |
| Case Dimensions (L x W x H) | 473mm x 215mm x 454mm |
| Front IO | 2 x USB 3.0 Type-A 1 x 3.5mm Audio Jack 1 x 3.5mm Mic Jack |
| PCI-E Slots | 7 |
| Colour | Black White Black/Cyan Black/Magenta Black/Green Black/Orange |
| Max Clearance | 170mm CPU Cooler Height 405mm GPU Length 170mm PSU Length |
| Drive Support | Up to 4 x 2.5 inch Up to 3 x 3.5 inch Up to 2 x 5.25-inch |
| Fan Support | Front: 2 x 140mm Top: 2 x 140mm Rear: 1 x 120mm |
| Radiator Support | Front: Up to 280mm Top: Up to 240mm Rear: Up to 120mm |
| Pre-Installed Fans | 3 x 120mm |
To get the B650 Eagle AX motherboard in the Fractal Design Pop Air case, lay the chassis flat and line up the rear IO with the cutout towards the top left of the case. We don’t have to move around any standoffs because the Pop Air is configured to support ATX motherboards straight out of the box, minimising the hassle factor.

Once the motherboard is fully lined up with the standoffs inside the case, use the included screws found in the accessory box to secure the board down. Make sure to use the correct screws, as a different thread type could damage the standoffs, making future upgrades potentially tricky.

Step 5: Mounting the Liquid CPU Cooler
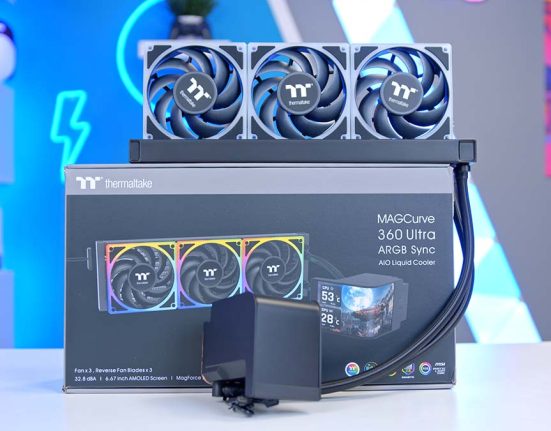
Because we’ve saved some money here and there with our component choices, it makes sense to branch out to a slightly pricier cooler to keep thermals down to a minimum. The CPU cooler going into this build is the Cooler Master MasterLiquid 240L Core ARGB. As an update to the original ML240L AIO, the core version offers a modern aesthetic with ARGB fans, a redesigned CPU blockhead with dual pumps, and an expanded radiator surface for better heat dissipation.

The 240L Core ARGB is highly affordable, coming in well below the $100 mark, which is great for a 240mm cooler. Additionally, this AIO fits in with the more minimalist style we’ve gone for, keeping in line with a clean and dark design.
We’ll start with the fans first. To do this, flip the radiator upside down so that the tubing is on the right. Place both fans on top with the wires facing towards you. Secure both of the fans using the long radiator screws.

Flip the radiator back over and remove the top panel of the Fractal Design Pop Air case. Push the radiator up towards the mounting rails and use the eight screws to secure it in place. We recommend starting with the outer corners while still holding onto the radiator, and then once the screws can take the weight, tighten down the rest of them.

Next, we’ll attach the correct mounting hardware to the CPU blockhead. For AMD, the brackets have two eyelets with a screw on top. Push these into the CPU blockhead and secure them using the four small screws. Make sure to screw them in from the underside of the CPU blockhead, which will hold the brackets in place.

Apply a rice grain-sized amount of thermal paste to the CPU cooler and place the cooler blockhead on the processor. To seat the cooler correctly, you must get the eyelets to sit in the two plastic notches on the clips at the top and bottom of the socket. This can be finicky, but once both notches are in, you can use finger strength to tighten it down. Keep tightening the screws down until there’s little movement from them. Finally, plug the headers for the fans into CPU_FAN and CPU_OPT, and plug the radiator header into AIO_PUMP.

Step 6: Mount the Graphics Card
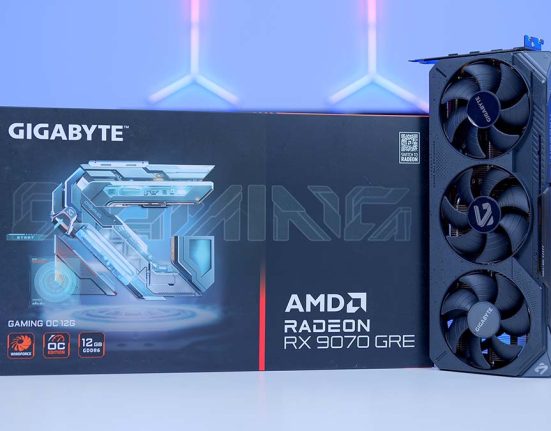
At the forefront of this PC build is the AMD Radeon RX 7900 XT. In recent months, the RX 7900 XT has become a firm favourite for 4K gaming due to its highly competitive price point. At launch, this GPU was priced at $899, but with several price drops, the RX 7900 XT is sitting at a much more palatable $700 at the time of writing.

This makes the RX 7900 XT one of the market’s most affordable 4K-capable graphics cards. This particular version is the reference model, sporting a black shroud with three fans. While the reference card can be a bit harder to pick up, it’s still worth considering for those looking to save some cash, as this variant sits at the current MSRP. The RX 7900 XT has 20GB of VRAM, which is ample for modern titles. It also sits on a 320-bit bus, providing plenty of bandwidth.
| Specification | AMD Radeon RX 7900 XT |
|---|---|
| Video Memory | 20GB GDDR6 |
| Memory Bus | 320-Bit |
| Core Clock Speed | 1.38GHz |
| Boost Clock Speed | 2.39GHz |
| Stream Processors | 5376 |
| Ray Accelerators | 84 |
| Compute Units | 84 |
| Power Consumption | 300W |
| GPU Length | 276mm |
To install this graphics card, the PCI-E covers at the rear of the case must be removed first. This is a two-slot GPU, so we’ll take out the covers from slots two and three (from the top down).

Now, line up the RX 7900 XT graphics card with the slot on the motherboard and apply even pressure to both sides of the card until you hear a click. Like the RAM we installed earlier, the click indicates that the card is seated correctly. Secure the GPU in place using the screws removed from the PCI-E covers.

Step 7: Power Supply & Cabling
The final part going into this system is the Thermaltake Smart BM3 750W power supply. This unit has consistently featured across several of our mid-range builds because it is consistent and comes in at a great price point. The Smart BM3 offers an 80 Plus Bronze efficiency rating, minimising any power lost as heat or noise. It also utilises a semi-modular cabling system, so CPU and motherboard power are built into the PSU. At the same time, PCI-E and SATA are separate and can be wired up depending on your needs.

The Smart BM3 750W also features ATX 3.0 compatibility and comes with a 12VHPWR cable. While we won’t be using this cable for the RX 7900 XT in this build, it provides some room for upgrading as new cards are likely to use this connector for higher power incursions.
Before installing this power supply inside the case, we must add a PCI-E cable for the graphics card and SATA power for the RGB hub. The PCI-E cables have two 8-pin headers, so we only need one cable.

Slide the power supply towards the back of the case and line it up with the cutout. Then use the four hexagonal screws to secure it in place. We recommend pulling the cables out of the case so they don’t get mixed up with the front panel wires.

Next, we can start wiring up the power cables. Starting with motherboard power, this is the biggest header and the most straightforward to plug in. Motherboard power is typically located on the right side of a motherboard, and the cable can only go in one way.

CPU power is next. This header looks similar to PCI-E, so don’t confuse them. The power connector normally has ‘CPU’ written on it, making this easier. Again, CPU power only goes one way, and the clips will be at the top of the header. Give the cable a firm tug after being plugged in to ensure the clips are correctly engaged.

For GPU power, the RX 7900 XT needs two 8-pin PCI-E headers. These go into the graphics card in a similar fashion to CPU power, but the headers are often split into 6-pin plus two. Ensure both header parts are correctly plugged in, and the clips are engaged.

SATA power in this build is optional, but it allows you to change the RGB colour of the fans through the button built into the IO of the case. The SATA power cables are notched and friction fit and will connect with minimal hassle.
Step 8: Front Panel Wiring & Switch On
Generally, we recommend that front panel cables be left until the end, as we can do cable management simultaneously. However, if you’re a veteran builder, it may be worth managing wires during the build to save time once everything has been installed.

For this build, the front panel cables that need to be plugged in are USB 3.0, HD Audio, and JFP1 (front power). USB 3.0 and HD audio are relatively simple to plug in as they both have large headers and can only go in one way. JFP1 is slightly more complicated as the Fractal Design Pop Air doesn’t use a single header for the entire set of pins.
As a general rule of thumb, we recommend starting with the ‘PWR_SW’ pins, which are the most important. The B650 Eagle AX motherboard has a legend indicating where each wire needs to go. If you’re still unsure, we have a complete Cable and Wiring guide to walk you through the process.

Once JFP1 has been wired up, put the panels back on, plug in some peripherals and a monitor, switch on the power and press the button at the front of the case.
Performance
Our benchmarking data shows that the AMD Radeon RX 7900 XT and AMD Ryzen 5 7600X perform well across Esports and AAA games at 4K high settings. This mid-range system is more than capable of handling the demands of top-end gaming, offering excellent framerates across a range of titles.
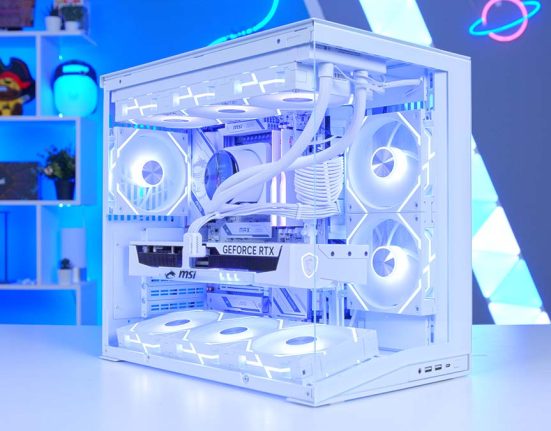
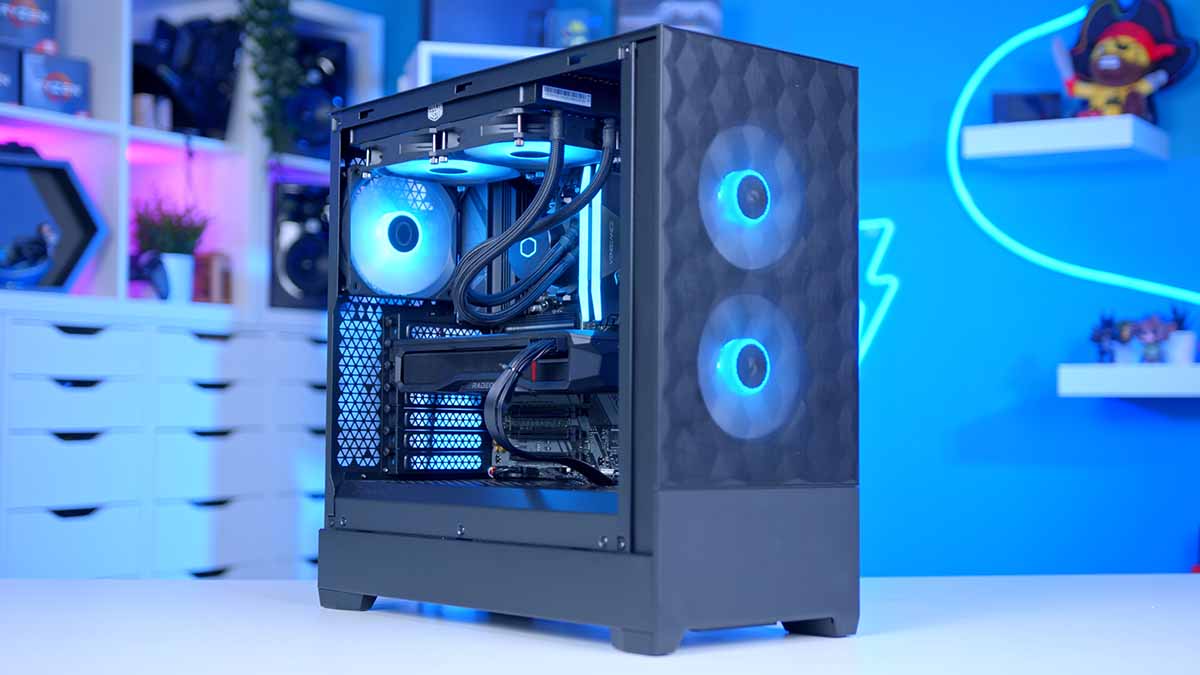
Gallery