$1500 is a great budget and starting point for those building a new gaming PC. This opens up a plethora of component options and configurations for consumers looking to build a mid-range system. If you’re wanting to secure the best value for money components, we’ve helped simplify your decisions by rounding up a number of parts in a full gaming PC build that can be put together for roughly $1500.
The system that we’ve put together is a well-balanced option that prioritises performance above everything else, but we have kept aesthetic in mind regardless. This PC build should be more than capable of hitting desirable framerates at 1440p, with some legroom at 4K too.
Consumers should also be able to push this $1500 build with some workstation applications too such as video editing, or 3D rendering.
In this PC build guide, we’ll be doing a deep dive on each component that we’ve picked out, taking a look at the specs, performance, value, cost, and more.
Main Components
CPU: AMD Ryzen 7 7700X

AMD’s Ryzen 7 7700X is Team Red’s mid-range offering designed to provide consumers with a nice balance of cores and clock speed. The Ryzen 7 7700X is primarily geared towards gaming, and handling both 1440p and 4K resolutions with no issues due to the high clock speed. While the eight cores and 16 threads here will be able to cope with some light productivity applications, we wouldn’t advise pushing your 7700X too hard.
For those looking to flex their cores and threads with some tougher multi-core workloads, we’d advise picking up a CPU like the Ryzen 9 7900X, which we’ve reviewed in full.
But because this is a $1500 system, the Ryzen 7 7700X stood out to us as the best option based on its lower price point versus other CPUs, including Intel’s 13th and 14th-Gen processors. It is also worth noting that the 7700X is an overclocking capable CPU, so consumers can unlock some extra performance with a bit of trial and error.
Buy the AMD Ryzen 7 7700X on:
CPU Cooler: MSI MAG CoreLiquid E360

MSI’s MAG CoreLiquid E360 has become a firm favourite in the GeekaWhat office due to its excellent value-proposition versus other coolers on the market. 360mm AIOs tend to come with a bit of a price premium, but the E360 breaks all of the established rules, making it one of the most competitively priced liquid coolers consumers can buy. The CoreLiquid E360 is a 360mm AIO, sporting three 120mm RGB fans that provide some additional flair for your system.
The CPU block cover also features some RGB lighting too, which is a nice touch. It is worth highlighting that the E360 CPU block cover is adjustable.
So if you’ve installed the block at a different orientation that isn’t upwards, you can simply twitch the top cover to get it facing correctly.
Buy the MSI MAG CoreLiquid E360 on:
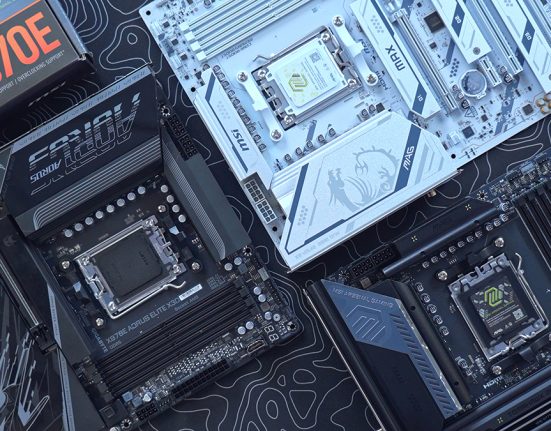
Motherboard: Gigabyte X670 AORUS Elite AX

The X670 AORUS Elite AX from Gigabyte is a well-rounded motherboard geared towards those building a mid-range PC. While it isn’t the most exciting board to look at, this option is exactly what we need to pair up with the rest of the components we’ve picked out in this build. The AORUS Elite AX sports a Gen5 M.2 slot, a mass of high speed rear IO, which includes USB 3.2 Gen2 ports designed to offer high speed transfers, which are especially useful for those with external SSDs.
Overclocking capability on the X670 AORUS Elite AX is excellent too, with consumers being able to leverage a 16+2+2 VRM power phase design for their CPU, which is more than ample for a solid performance boost.
RAM speed can also reach 8000MT/s at the maximum, which will provide further jumps in performance in applications and games that utilise RAM more.


Buy the Gigabyte X670 AORUS Elite AX on:
RAM: Kingston Fury Beast DDR5 32GB

Kingston’s Fury Beast RGB kit is our choice of DIMMs for this $1500 PC build. The reason why we’ve picked out this particular set of DIMMs is primarily down to the price. We don’t need an insanely powerful set of DDR5 sticks for this build, and because DDR5 isn’t quite at the same price that DDR4 is, grabbing a reasonably priced but decent performing kit is the priority here.
In terms of specs and performance, the Kingston Fury beast kit offers a 6000MT/s speed, alongside a CL36 latency. This isn’t the fastest latency, especially for an AMD build that has EXPO profiles available, but for gaming, CL36 will be more than fine.
We’re expecting lower latency kits to become more affordable as DDR5 starts to become the norm with next generation PC builds, which is when we’d advise picking up a new kit if this one isn’t quite cutting the mustard.


Buy the Kingston Fury Beast 32GB DDR5 RGB Kit on:
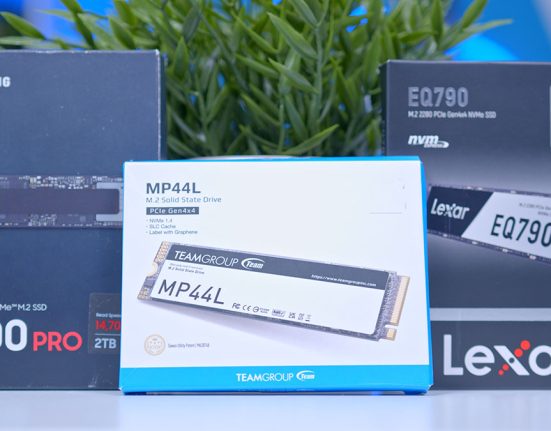
SSD: Corsair MP600 GS 2TB

Taking a look at storage, the MP600 GS 2TB version is our choice of SSD in this PC build. Gen4 drives have significantly dropped in price within the past year or so, resulting in a market that has a plethora of options available. We’ve picked out the MP600 GS 2TB for two reasons. One of which being the price. Price per GB doesn’t really matter at this level, because Gen3 and Gen4 options are priced very similarly, so picking up a drive that has a slightly weaker read and write speed is a better solution in this scenario.
Our second reason is based on the capacity. 2TB is more than ample for consumers to get all of their favourite games installed, alongside a number of other applications without maxing out this drive.
So picking up a 2TB Gen4 drive was a no-brainer for us, and the MP600 GS offers an excellent value-proposition for those that don’t need to push insanely large files and are primarily going to be playing games.
Buy the Corsair MP600 GS 2TB on:
GPU: Gigabyte Gaming OC Radeon RX 7800 XT

Gigabyte’s Gaming OC variant of the Radeon RX 7800 XT is one of the best value graphics cards on the market for a number of reasons. The RX 7800 XT is AMD’s big win for their Radeon 7000 range, undercutting the vast majority of NVIDIA’s options when it comes to price, and beating out Intel when it comes to performance. Needless to say, for those looking to build a 1440p or 4K capable gaming PC, the 7800 XT is going to deliver just that and more.
The reason why Gigabyte’s Gaming OC model is at the top of our list is down to value-proposition. While the performance of the 7800 XT is very solid, the reason why it is such a good card is because of its MSRP price.
But as soon as we start to surpass this by adding more fans, RGB, or marginally improving cooling, the value of this card begins to depreciate. Gigabyte’s Gaming OC RX 7800 XT is one of the few variants of this card that sits at that important MSRP sweet spot, making it a go-to option for consumers looking to secure this AMD graphics card.
Buy the Gigabyte Gaming OC Radeon RX 7800 XT on:
Case: APNX C1

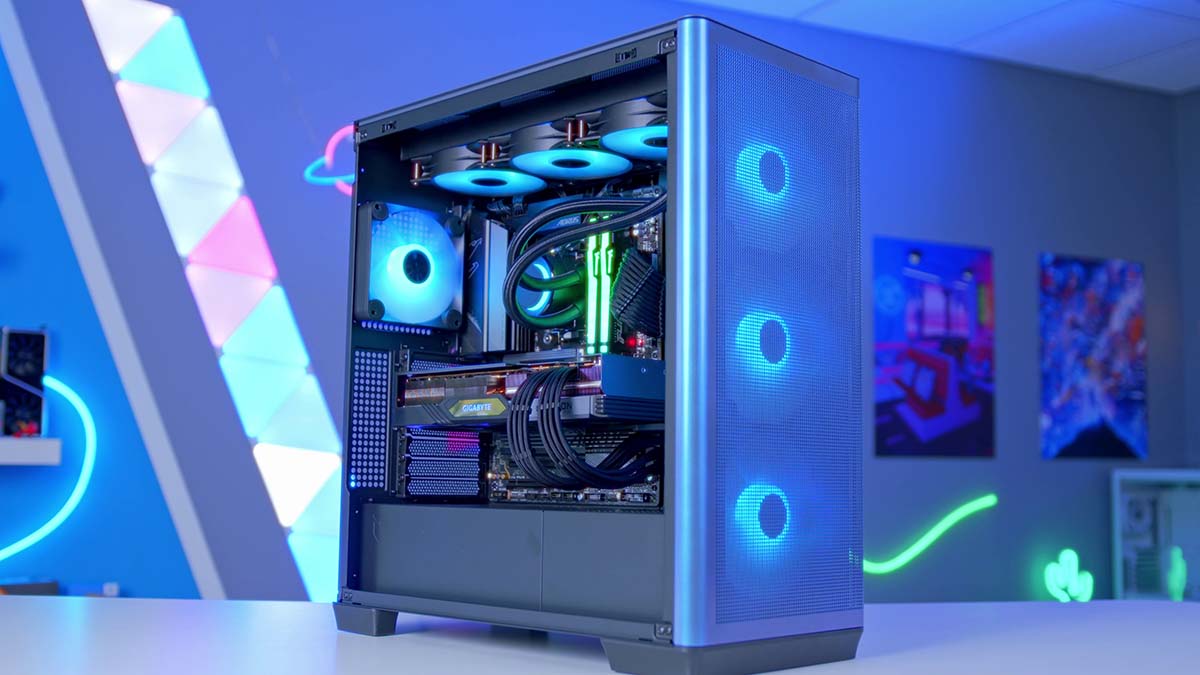
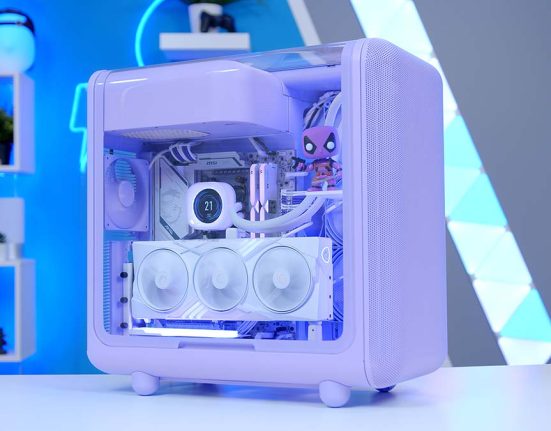
APNX is a the first chassis released by APNX, and their C1 came as a bit of a surprise to us when it arrived in the GeekaWhat office. The C1 is a curvy and sleek chassis that puts airflow and thermals at the front and centre of the design. This case offers some neat quality of life features, such as support for vertically mounted graphics cards, easily removably dust filters, and quick-release panelling that doesn’t require the use of any tools. Overall the APNX C1 is a well made case that prioritises the consumer, and maintaining low temperatures. What’s more, the C1 comes in three different colourway options (black, white and Chromaflair). The variant that we have in the office is the ChromaFlair colour, which is a pearlescent mixture between purple and turquoise.
It is worth noting that the ChromaFlair colourway is more expensive, but this will be well worth the extra dollars if you’re wanting to ensure that the aesthetic and performance are solid across the board.


Buy the APNX C1 on:
PSU: Cooler Master V750 i Gold

Powering our $1500 PC build is the V750 i Gold from Cooler Master. This PSU has been a mainstay in a number of different PC builds since it arrived in the office due to its consistency, low noise levels, and strong efficiency rating. The V750 i Gold is a fully modular power supply, allowing you to pick and choose the exact cables you need to plug in, which can help with cable management and reduce any clutter.
The most notable features of the V750 i Gold is the support for ATX 3.0, and the use of a semi-digital platform. It is highly likely the next generation of graphics cards will use ATX 3.0 connectors to drive more power.
This means picking up a PSU that supports this standard can be a good choice from an upgradeability standpoint. The semi-digital platform is also extremely useful for those that like to tinker. You can easily change the fan curve and some of the power settings by plugging in an additional USB header from this power supply into your motherboard.
Original Review by Jay Harris: Cooler Master V750 i Gold Review – A Lower Wattage ATX 3.0 Option
Buy the Cooler Master V750 i Gold on:
Performance
Gallery






 1440p, High Settings
![FI_[DM87] HAVN BF & RTX 5090 Build](https://geekawhat.com/wp-content/uploads/2026/01/FI_DM87-HAVN-BF-RTX-5090-Build-551x431.jpg)

![FI_[DM86] Montech King 45 Pro + RX 9070](https://geekawhat.com/wp-content/uploads/2026/01/FI_DM86-Montech-King-45-Pro-RX-9070-551x431.jpg)
